

Content last revised on September 10, 2026
Suppressing Pixel Jitter & Horizontal White Lines Induced by Adjacent 400V Motor Drives
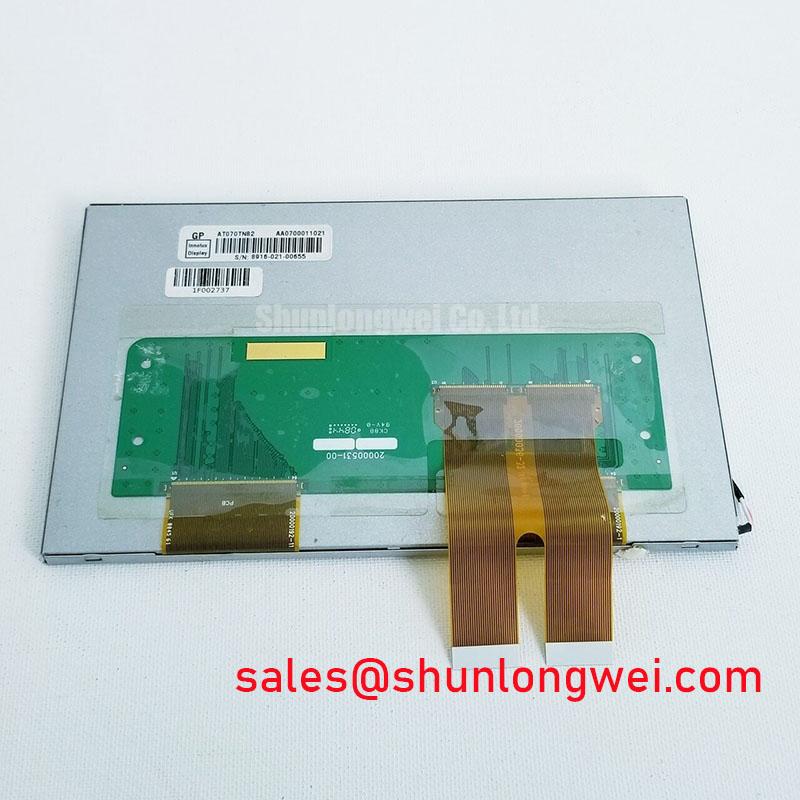
Begin a noise investigation with the panel powered from the equipment under normal operating conditions and a stable test image displayed. A uniform gray field, a black field, and small text are useful because horizontal white bands, intermittent pixel movement, and flicker tend to be more visible than on animated graphics. If the disturbance changes as a nearby motor drive changes speed, load, or switching state, do not immediately attribute the symptom to the AT070TN82 itself. The display cable path, controller grounding, power return path, and nearby switching conductors all require inspection.
A Design Consideration for installations near 400 V variable-frequency drives is to maintain continuous cable shielding wherever the equipment architecture supports it. A shield termination with broad, low-impedance contact at the enclosure entry can reduce common-mode coupling more effectively than a long shield drain connection. Common-mode ferrite suppression may also be evaluated where measurements show conducted or radiated noise on the display cable. The system engineer should confirm the result with the actual controller, cable length, enclosure, and drive operating states rather than applying a universal remedy.
Noise at the display can originate from the same switching environment addressed in power-electronics documentation, including material published for SiC MOSFET switching applications. That reference does not describe the AT070TN82 or certify its behavior in a motor-drive installation; it is relevant only as background for examining fast-switching noise sources in the host equipment.
Where the host controller uses PWM control for display illumination, a Design Consideration is to examine the controller’s intended PWM frequency range of 200 Hz to 1 kHz and assess duty-cycle linearity while watching a static text screen. These values are not Ampire factory specifications for the AT070TN82. The correct dimming mode, frequency, and polarity must come from the original panel and controller documentation. Audible sound, brightness steps, or visible flicker can arise in the host backlight circuit, cable routing, or controller configuration and should be isolated through measurement.
💡 Bench Tip: Disconnect power before releasing the display cable, then reinsert the mating cable squarely and evenly so the contact line is fully seated without twisting the connector.
When a marine radar or navigation bridge console is being assessed, salt exposure, enclosure bonding, cable-gland condition, and connector contamination can affect the signal environment. Such use is a compatibility evaluation example, not an assertion that this module alone provides marine environmental approval. For broader practical checks involving display integration in demanding enclosures, consult Industrial Display & HMI Solutions.
Grayscale Inversion Mitigation & Optimal Viewing Direction Alignment
Before replacing an existing screen with the AT070TN82, inspect the original display from the actual operator position rather than only from a bench directly in front of the panel. Direction-dependent tone changes can be mistaken for a controller fault when the display is viewed above, below, or off-axis from its intended orientation. If the original equipment documentation identifies a normally white TN optical mode, grayscale inversion and viewing direction must be evaluated as panel characteristics rather than corrected through arbitrary controller settings.
IPS and MVA panels are often discussed using broad symmetric viewing-cone descriptions such as 85°/85°/85°/85°, but that description must not be transferred to the AT070TN82 without an official optical specification. Likewise, an anti-glare surface treatment can help reduce reflected ambient light in some display assemblies, yet the surface finish of this specific module should be confirmed from its own documentation. A bright bridge console, outdoor service terminal, or industrial HMI may need an enclosure-level reflection assessment that considers the protective window, mounting angle, and ambient illumination.
A Design Consideration for a high-noise controller board is controlled differential routing. If the selected interface is differential, the board designer should verify the interface standard and the panel documentation before applying a 100 Ω ± 10% differential impedance target or a skew budget of 50 ps or less. Those figures are engineering criteria often used for relevant high-speed differential links; they are not confirmed AT070TN82 factory requirements. The final routing constraints depend on the actual controller output, cable assembly, connector assignment, and signal-rate limits.
Visual inspection should distinguish optical behavior from signal integrity. A repeatable shade change that follows viewing angle is different from a moving band synchronized with drive activity. Capture the issue using fixed test patterns, change only one environmental or electrical variable at a time, and compare the result against a known-good signal path where available. This preserves evidence for deciding whether the concern lies in the panel, cable, controller, or system installation.
Where a system change requires comparison with another industrial display module, TCG084SVLQAPNN-AN30-S can be reviewed as a separate engineering candidate. Its electrical, optical, mechanical, and connector requirements must be independently compared with the original equipment; it should not be assumed to be a direct replacement for the AT070TN82.
Full-Screen Primary Color AOI Screening: Stuck Sub-Pixels & Background Uniformity Audit
Use a clean, repeatable full-screen inspection sequence after confirming that the host controller is producing a stable image. Display solid red, green, and blue fields, then white, mid-gray, and black. Observe each field from the intended operating distance and from a consistent viewing angle. This practical three-stage primary-color check helps identify persistent bright points, dark points, color-tinted areas, line artifacts, and image defects that only appear under specific pixel drive conditions.
First, inspect the red, green, and blue patterns for a point that remains visibly abnormal while the rest of the image changes. A persistent point may indicate a stuck sub-pixel or may reveal an upstream image-generation issue. Second, use a white field to assess broad brightness and color uniformity. Third, use dark gray and black fields to look for abnormal edge glow, vertical or horizontal bands, or localized shadows. Record the pattern, location, panel orientation, input source, and test duration so a later comparison is meaningful.
A flashlight held at roughly 45 degrees to the inactive screen surface can help reveal surface contamination, pressure marks, protective-film residue, or an image that is faintly present under different illumination conditions. It cannot, by itself, prove an internal panel fault. A line defect, poor connector contact, timing issue, or controller output problem can produce similar visual symptoms. Do not assign the condition to an internal driver structure without manufacturer-supported evidence and controlled substitution testing.
During incoming inspection, avoid pressing on the active area to test a suspicious point. Mechanical pressure can change the observed artifact and complicate the diagnosis. Inspect the bezel transition, cable strain relief, and connector latch condition instead. If the same artifact remains after the cable is reseated and the module is driven from a known-good compatible source, document the exact test pattern and capture photographs for the repair record.
For installations in electrically active cabinets, the primary-color test should be repeated with nearby equipment inactive and active. A defect that appears only when a motor drive, switching supply, or radio transmitter is operating may indicate system coupling rather than a static optical defect. This method avoids treating a single visual symptom as proof of one specific cause.
Digital RGB Interface Synchronization & Logic Power Rail Verification
Confirm the host interface before connecting the AT070TN82. The model should not be assigned a TTL 24-bit digital RGB interface, LVDS interface, JEIDA mapping, VESA mapping, or any logic supply solely from a generic panel family assumption. The system integrator should verify the required supply voltage, data format, pin assignment, enable sequence, and backlight control method from the original panel documentation and the equipment schematic.
If the host design documentation explicitly specifies a TTL 24-bit RGB bus, verify that red, green, blue, clock, synchronization, data-enable, and ground paths correspond to the documented connector positions. Split images, unstable color fields, shifted columns, or blank output may indicate mapping, timing, connector, or power-sequencing discrepancies. They should be evaluated with signal observation and a known-good configuration instead of corrected by trying undocumented pin changes.
The stated logic rails of 3.3 V and 5.0 V, together with a power-on rise-time window of 0.5 ms < t1 < 10 ms, are host-interface verification values referenced in the integration brief, not official AT070TN82 specifications supplied here. Do not select either rail for this module without the original panel documentation. The same rule applies to any 100 Ω differential routing practice and to JEIDA or VESA mapping: they are relevant only if the verified interface requires them.
A Design Consideration is to observe the logic rail, enable signals, and image output during power-up and power-down while the module is connected through the intended cable. Confirm that the controller follows the documented sequence and that the image becomes stable without intermittent blanking. If a display works on the bench but fails in the final enclosure, inspect cable bend radius, connector retention, grounding continuity, and the proximity of switching power paths before changing display settings.
Equipment containing battery-backed electronics may also have supervisory circuitry that changes power behavior during startup or brownout. General context on such supervisory arrangements is available in this Battery Management System architecture reference. It is not an AT070TN82 specification and does not establish compatibility; it simply helps technicians identify host-system power dependencies that can affect a display startup test.