

Content last revised on September 23, 2026
Backlight Thermal Dissipation and Optical Material Preservation
Check the panel for uneven luminance, a dark edge, localized bright zones, or a rising bezel temperature before changing the display assembly. These symptoms should be separated into panel image faults, backlight faults, cable faults, and enclosure heat problems rather than assigned to one cause without measurement.
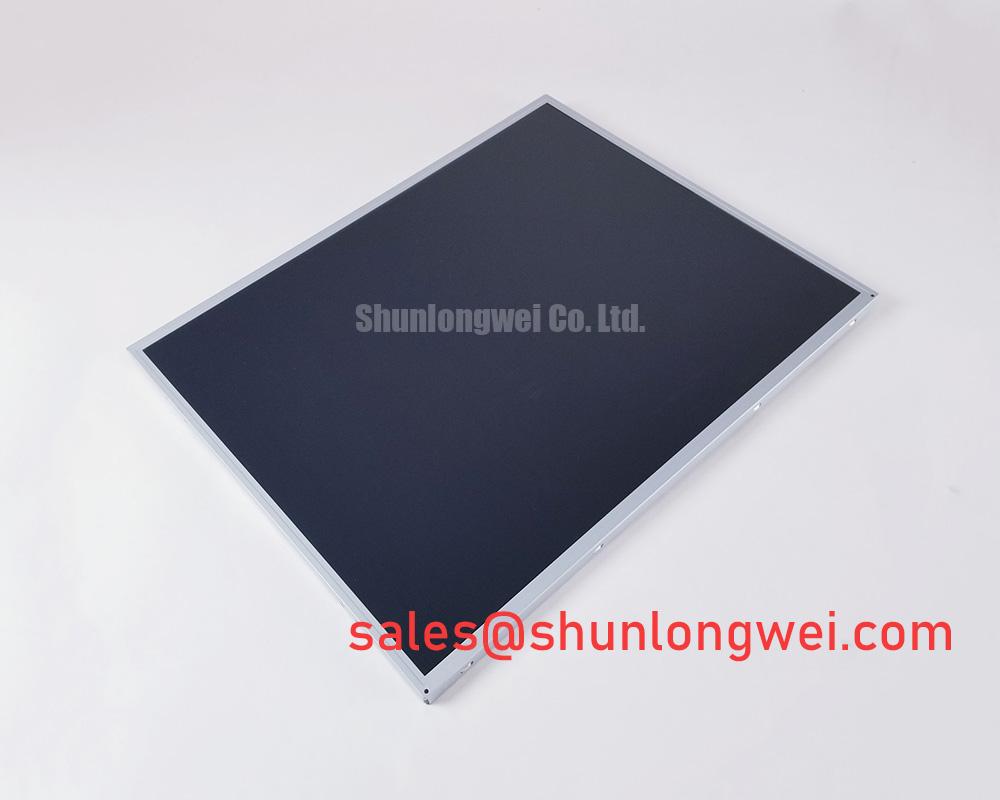
M190EG02 V0 is identified as a TFT LCD active matrix color display module for industrial HMI integration. The supplied factory information does not confirm a specific luminance rating, optical film construction, LED rail layout, PMMA light guide specification, PWM input range, or backlight lifetime figure. Those values must not be assumed when replacing a panel in a CNC operator interface or robot teach pendant.
When a working image is visible but the screen appears dim, inspect the backlight supply path and the brightness control signal at the system connector. Measure the supply at the panel side while the display is operating, then compare it with the original equipment documentation. A correct reading at the power supply does not prove that the voltage remains stable at the display connector under load. Check connector seating, crimp retention, cable damage, and any inline protection components.
For a panel fitted behind a narrow metal bezel, use a Design Consideration approach to thermal management. Keep heat producing components away from the display edges where practical, provide a controlled conduction path to the chassis, and avoid clamping the optical area against a warm structural rail. The actual thermal limit remains system determined and should be verified by measuring the enclosure temperature during the longest expected operating cycle.
Do not attribute a yellow or brown optical area directly to the light guide without examining the complete backlight assembly. Similar visual changes can result from contamination, pressure marks, aging optical films, uneven mechanical contact, or excessive enclosure temperature. Record the fault with a uniform test image and compare the same screen at different brightness settings.
PWM dimming is also system dependent. If the host equipment controls brightness, verify the controller output frequency, duty cycle behavior, and compatibility with the replacement panel documentation. The frequently used engineering evaluation range of 200 Hz to 1 kHz is a general Design Consideration for assessing visible flicker and acoustic interaction; it is not an official specification for M190EG02 V0. Confirm the actual backlight control method before wiring a replacement.
When the display is evaluated for a CNC operator panel or robot teach pendant, inspect the HMI enclosure for blocked vents and heat transfer from drive electronics. A panel can show an apparently intermittent backlight fault when the real problem is a power converter entering thermal protection. Use a known good display path or a controlled external test setup only when its voltage, connector arrangement, and enable logic have been verified.
Flush-Mount Bezel Integration and Perimeter Gasket Shock Isolation
Remove the bezel pressure and inspect the perimeter contact area when a dark crescent, bright patch, or changing mura pattern follows screw tightening or chassis movement. Observe the panel while applying only the normal enclosure mounting condition, since hand pressure can reproduce an optical fault that is not present during an unloaded bench test.
The available hardware information identifies this product as a TFT LCD active matrix color display module, but it does not provide a confirmed outer bezel envelope, mounting hole drawing, gasket compression limit, screw specification, or installation torque. The system integrator should obtain the original mechanical drawing before cutting a replacement aperture or selecting fasteners.
For flush mounting, the chassis opening should support the display without transferring bending force into the active area. Use a continuous, clean support surface around the perimeter, keep burrs away from the panel edge, and allow the enclosure to absorb its own vibration loads. A gasket may help isolate shock, but its material, thickness, compression behavior, and environmental compatibility must be selected from the complete mechanical design rather than inferred from the model number.
A cross pattern can distribute fastening load more evenly than tightening one corner completely before the others. The often used 0.35 to 0.45 N·m range for small M3 fasteners is a General Industry Design Consideration only, not a factory specification for this display. Apply the actual torque permitted by the panel drawing, chassis material, gasket design, and fastener type. If no approved torque is available, the engineering team should validate the assembly with a flatness check and a powered optical inspection.
Cold operation requires separate attention. Liquid crystal response can slow as ambient temperature falls, producing visible image trailing or delayed gray transitions. This does not by itself prove that the panel is defective. Test the unit at the intended enclosure temperature using representative screen transitions, then assess the effect of the host system’s heater control, airflow, startup sequence, and thermal recovery time. The available product facts do not confirm a specific operating temperature range for M190EG02 V0.
Do not add a heater strip solely because a general industrial display may experience cold starts. The heater location, control threshold, insulation, condensation strategy, and warm-up sequence are system design matters. Engineers should verify that heat is distributed uniformly and that no local hot spot reaches the display before the rest of the assembly. Condensation risk also requires enclosure-level control rather than a panel-only adjustment.
Field Alert: Disconnect power before inserting or removing the display cable, because contact sequencing can expose signal and supply pins to unintended electrical stress.
Display Interface Signal Integrity and Noise-Floor Verification in High-Vibration Bays
Probe the display interface at the panel connector when the image contains horizontal bands, unstable pixels, intermittent color, or a picture that changes as the cable is moved. First compare the signal path with a known good unit, then inspect connector retention, cable bend radius, shield termination, and chassis bonding before changing the panel.
The supplied factory data does not confirm whether this exact configuration uses LVDS, eDP, a proprietary differential interface, or another signal arrangement. Do not assign a pinout, supply voltage, termination value, differential impedance, or shield connection from a similar-looking panel. The system integrator should verify the required interface and supply conditions from the original panel documentation and equipment wiring.
In a high-vibration cabinet, secure the cable so that its connector is not carrying the mass of the harness. Inspect for fretting, partially backed-out contacts, cracked strain relief, and a shield that terminates only through an accidental mechanical contact. A 360-degree shield termination can be a useful Design Consideration for high-frequency interference, but its suitability depends on the equipment grounding architecture and the isolation requirements of the display assembly.
When the panel is installed near a variable-frequency motor drive, compare the display fault with motor switching activity. A horizontal noise band that appears only during acceleration may indicate conducted or radiated interference, a disturbed reference plane, insufficient cable separation, or a marginal interface. Confirm the observation with an oscilloscope using appropriate probing methods and compare the differential waveform, common-mode behavior, and eye opening against the equipment maker’s interface limits.
Values such as 100 ohms ±10 percent differential impedance and a skew budget of 50 ps or less are commonly encountered engineering targets for some high-speed differential links, but they are not verified specifications for M190EG02 V0. Treat them as Design Considerations only when the original interface documentation calls for them. The final cable construction, trace geometry, connector selection, and timing margin must be validated as one transmission system.
Ferrite components should not be installed by trial and error across an unknown signal pair. Their impedance curve, current rating, placement, and effect on rise time must be evaluated with the actual interface. A filter that reduces a visible noise band can also reduce signal margin or alter the common-mode operating condition. Check the display enable, reset, and power-sequencing signals at the same time, because an apparently graphical fault may begin during an incomplete startup sequence.
For service work on an industrial HMI, document the image condition, cabinet state, cable position, drive operating state, and measured supply behavior. This creates a repeatable comparison for the replacement panel without claiming that one symptom proves one failed component. The Industrial Display & HMI Solutions reference can be used alongside the equipment drawings when assessing enclosure integration and harsh operating conditions.
Thermal Cycling Effects on Display Optics and Enclosure Sealing
Inspect the panel perimeter, optical surface, and image uniformity immediately after a controlled temperature transition when bubbles, edge lifting, haze, delayed response, or a changing dark border is reported. Compare the cold and warm images at the same input signal and brightness setting, and record whether the defect remains after the assembly returns to a stable temperature.
The factory information supplied for M190EG02 V0 confirms the display category and active matrix TFT technology but does not confirm a polarizer adhesive type, perimeter sealant formulation, gasket construction, operating temperature range, storage range, or thermal cycle qualification. These internal material and reliability details must not be inferred from the Innolux or AUO association alone.
Sub-zero temperature can increase liquid crystal viscosity and extend gray transition time. In a CNC operator panel or robot teach pendant, this may appear as moving objects leaving a trail, alarm text updating slowly, or a pointer responding less sharply after a cold start. Separate a normal temperature-dependent response change from a permanent display fault by using repeatable patterns and measuring the recovery as the enclosure warms. The acceptable response is determined by the original equipment requirement and the panel documentation.
A heater may be considered where the system requires a rapid cold start, but the heater control must be designed around enclosure temperature, condensation prevention, power availability, and uniform heat distribution. Avoid placing a concentrated heat source directly against one display edge. Local heating can create optical nonuniformity or mechanical stress even when the average enclosure temperature appears acceptable.
During thermal cycling evaluation, examine the perimeter for progressive separation, contamination ingress, or changes in gasket contact. A sealant or gasket is part of the equipment enclosure strategy and should not be treated as proof of a particular environmental rating for the display. Engineers should verify sealing, cable entry protection, pressure equalization, and condensation control at the finished assembly level.
Backlight control should also be observed during temperature changes. If brightness is controlled by PWM, verify that the control waveform remains stable as the power supply and display temperature change. The commonly evaluated 200 Hz to 1 kHz range can support a general flicker assessment, but it is not an M190EG02 V0 factory rating. Confirm the actual dimming interface, duty-cycle limits, startup behavior, and fault response before connecting the panel to a machine controller.
When a backlight becomes dark, do not assume an open LED string or short circuit without checking the system driver output, enable signal, current regulation, protection response, and connector continuity. If the equipment provides a diagnostic output, record it together with the panel supply and control signals. A protection shutdown can be triggered by the driver, wiring, or load conditions, and the correct repair path depends on measurements from the complete display system.