



Content last revised on September 10, 2026
Dynamic Contrast Ratio Stabilization & Liquid Crystal Birefringence Temperature Tracking
Use a controlled full-screen test pattern to inspect the panel at startup, after thermal stabilization, and during a gradual transition from dark content to bright content. A technician should record whether black areas remain visually uniform, whether gray steps merge, and whether the image changes when viewed from the intended operator position. These observations are useful for comparing a replacement unit with a known-good display, but they are not a substitute for a manufacturer-rated contrast or viewing-angle specification.
TN, IPS, and MVA are different liquid-crystal architectures with different grayscale and viewing behavior. The supplied factory data for DMF50081ZNB-FW does not identify the panel mode. Do not assign a TN grayscale-inversion characteristic or claim an IPS or MVA symmetric viewing cone without a supporting Kyocera or OPTREX document. The often-quoted 85°/85°/85°/85° viewing-angle format should be treated only as a measurement format to verify, not as a rating for this model.
High ambient illumination can make a display appear to have reduced contrast even when the electrical image signal is correct. For bridge-console evaluation, test the panel with controlled illumination and compare the result with the application’s optical requirement. A proposed benchmark such as contrast above 500:1 at 50,000 lux must be identified as a system test target unless it appears in the model-specific factory documentation. It must not be presented as the official performance of this module.
Surface anti-glare treatment also requires confirmation. A matte or etched surface can reduce reflected highlights, but it may alter perceived sharpness, haze, and black-level appearance. Inspect the panel under an angled work light and then under direct bright illumination. Look for localized glare, surface scratches, coating discontinuity, and pressure marks. If the replacement is being considered for an outdoor radar console, the enclosure window, viewing angle, optical bonding arrangement, and sun-shield geometry should be evaluated together with the LCD rather than attributed to the module alone.
Cold-start testing deserves separate attention. At low temperature, liquid-crystal response and backlight behavior can change, producing slower transitions or temporary image non-uniformity. The correct test is to place the complete display assembly in the equipment’s qualified thermal condition, apply the documented power sequence, and measure time to stable image and operator-readable brightness. The available data does not state a cold-start response time or operating-temperature range for this model, so any compensation delay must be determined by system testing.
Industrial EMI Noise Immunity, Chassis Shielding Continuity & Common-Mode Ferrite Chokes
When a display is installed near a variable-frequency motor drive, inspect the complete signal path rather than the LCD alone. Check cable routing, connector retention, chassis bonding, and the continuity of any shield termination. Pixel jitter, horizontal bands, or intermittent image loss can arise from signal-integrity problems, grounding differences, power disturbance, connector movement, or a defective source board. An oscilloscope comparison with the known-good signal path is more reliable than assigning one symptom to one cause.
A 360-degree shield termination is a design consideration for reducing unwanted common-mode coupling when the equipment architecture supports it. The final method depends on the connector, cable construction, chassis materials, safety scheme, and enclosure layout. Common-mode ferrites may also be evaluated where conducted interference is present, but their impedance behavior must be checked across the actual signal bandwidth. Adding a ferrite without checking differential loss, common-mode performance, and mechanical retention can create a new integration problem.
For PWM-controlled backlights, verify the driver requirements in the original panel documentation before connecting a controller. The proposed 200 Hz to 1 kHz range and duty-cycle linearity checks are system-level evaluation points, not confirmed specifications for DMF50081ZNB-FW. During testing, observe visible flicker, audible emissions from the driver assembly, brightness response at low duty cycle, and interaction with the camera or optical sensor used by the equipment. The panel’s actual backlight technology and dimming interface must be confirmed before selecting a drive waveform.
Power integrity should be measured at the module connector while the display changes from dark to bright content. Capture supply disturbance, cable drop, and any reset or image interruption. The allowable rail limits are not included in the supplied factory parameter set. The system integrator should therefore verify the voltage, current, sequencing, enable logic, and backlight requirements from the original panel documentation before energizing a replacement.
Electrical safety remains an assembly responsibility. The power architecture should be reviewed against the applicable extra-low-voltage requirements, with the relevant principles described in Safety Extra Low Voltage and PELV electrical safety. This reference does not certify the module or the finished console. Similarly, semiconductor depletion-region physics is not a specification for this LCD; the general reference at Space Charge Region and Depletion Layer Physics should not be used to infer an unlisted display electrical limit.
For broader enclosure, grounding, and HMI integration context, engineers can consult Industrial Display & HMI Solutions. Any EMC result still belongs to the complete equipment. A discrete display module cannot independently claim compliance with a finished-system EMC standard.
TTL 24-Bit Digital RGB Bus Synchronization & Logic Power Rail Verification
Do not assume the interface from the model suffix or from the appearance of the connector. The confirmed data identifies a TFT-LCD display module but does not publish a TTL 24-bit RGB assignment, LVDS mapping, JEIDA or VESA format, connector pinout, logic voltage, timing table, or backlight interface. Before fitting the part, compare the original cable and controller documentation, then verify pin one, keying, cable direction, enable signals, and return paths.
A proposed logic supply range of 3.3 V to 5.0 V must not be applied as a model rating because the supplied factory information does not confirm either value. The same rule applies to a proposed power-on rise interval of 0.5 ms to 10 ms. These figures may be used as engineering verification points only when required by the host controller or the original display specification. Use a current-limited bench supply during initial evaluation and monitor the rail directly at the module connector.
Signal mapping errors often produce split images, incorrect colors, unstable synchronization, or a display that remains blank while the backlight is active. Verify the bit order and color mapping at the transmitter and receiver, then compare clock polarity, active regions, blanking intervals, and data-enable behavior with the known-good assembly. If the host uses LVDS, check the complete pair assignment and termination arrangement. If it uses parallel RGB, confirm the bus width and timing rather than adapting the cable by color alone.
Differential routing should maintain a controlled impedance appropriate to the transmitter, receiver, and cable assembly. The frequently used 100 ohm differential value is a design target that must be confirmed against the system interface documentation; it is not an official DMF50081ZNB-FW parameter. A proposed skew budget of 50 ps or less is likewise a system-level signal-integrity criterion. Validate clock-to-data relationship at the receiver across the intended temperature window, cable length, and enclosure routing.
For industrial equipment, thermal drift can expose a marginal timing interface that appears functional on a room-temperature bench. Check transmitter clock stability, data hold behavior, and connector contact quality at the equipment’s qualified temperature limits. If image artifacts appear only during startup or after heating, capture the logic rail and display clock at the same time. This helps separate power sequencing, oscillator behavior, cable coupling, and panel-side response without making an unsupported single-cause diagnosis.
Incoming Benchtop Inspection: COG/TAB Anisotropic Conductive Film Integrity
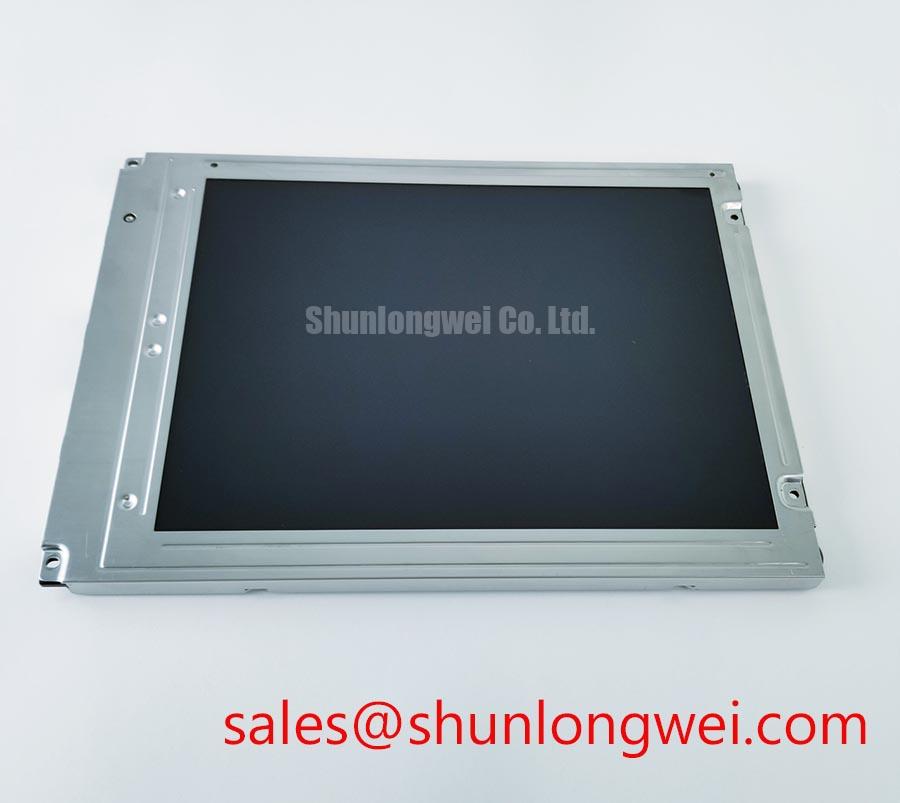
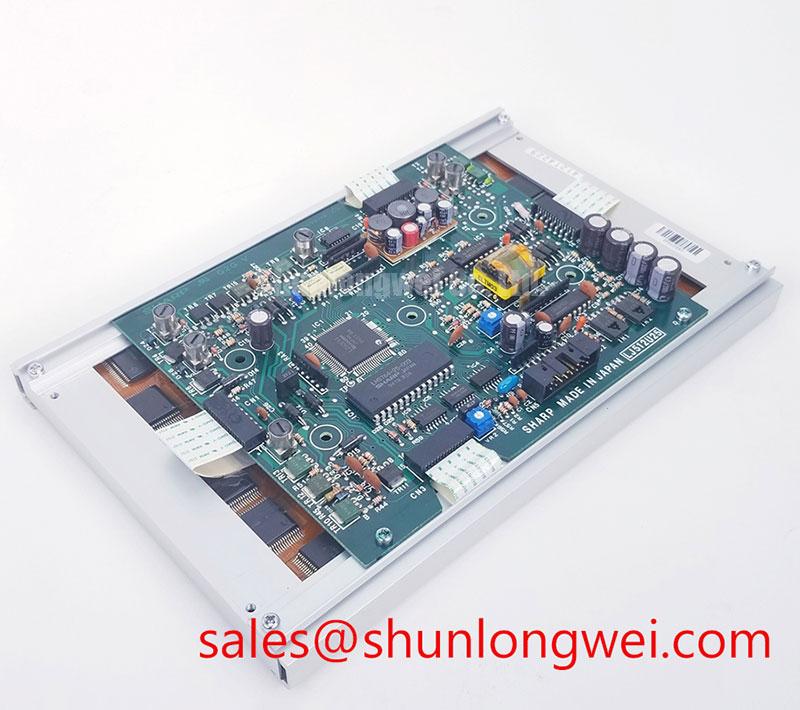
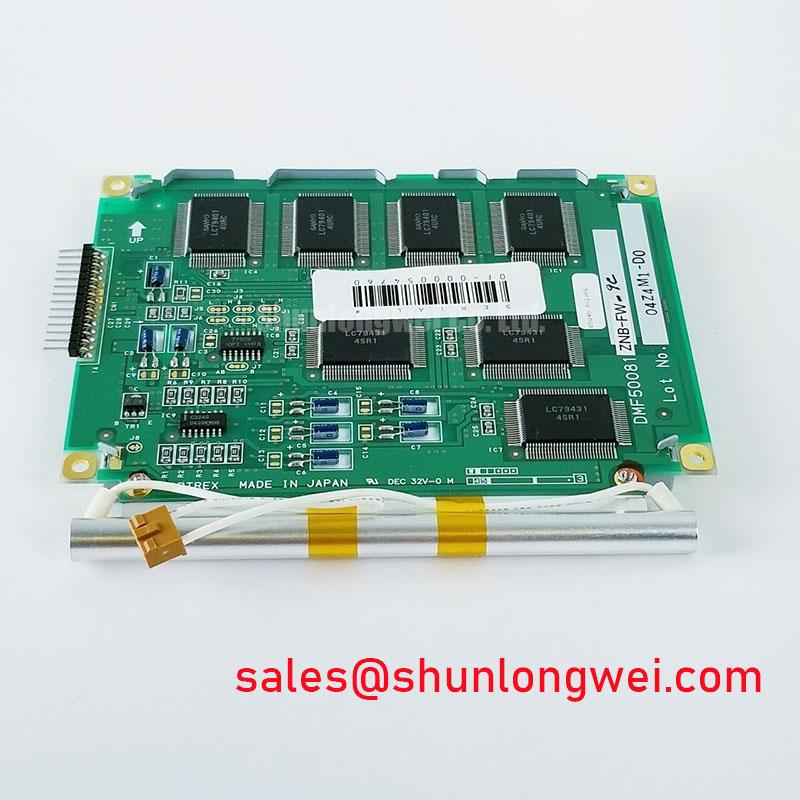
Begin with an unpowered visual inspection under diffuse light. Examine the glass edge, bezel, FPC transition, connector contacts, stiffeners, and exposed bonding areas for contamination, lifted edges, creases, or impact marks. COG and TAB bonding areas are fine-pitch electrical interfaces, so inspection should remain non-contact unless the manufacturer’s service procedure specifies otherwise. Do not press the glass or bonding edge to test an intermittent line.
The primary-color test should use full-screen red, green, blue, white, and black patterns generated by the known-good controller. Allow the assembly to reach a stable operating condition, then inspect from the normal viewing position and from oblique angles. Record fixed dark points, bright points, color contamination, line defects, edge shadows, and changes that occur when the cable is moved only within its permitted mechanical range. A defect report should include the pattern, location, temperature condition, controller, cable, and backlight state.
A 45-degree flashlight inspection can help separate surface or backlight non-uniformity from a signal-line defect. With the display showing black and then white, illuminate the surface obliquely and observe whether a dark region follows the optical surface or remains aligned with a row or column. This is a diagnostic observation, not proof of a specific internal failure. COG or TAB bonding cannot be declared defective without controlled comparison, connector verification, and appropriate electrical or optical evidence.
FPC handling is a major integration checkpoint. Keep the cable supported in its natural exit direction, avoid sharp folds, and prevent the enclosure from placing continuous force on the connector. The locking mechanism should be opened and closed in accordance with the connector design, with the cable inserted squarely and evenly. Repeated insertion cycles should be minimized during troubleshooting because connector wear and contamination can change the result.
Where a high-speed differential interface is confirmed by the original documentation, inspect pair routing, reference-plane continuity, and connector seating. A controlled differential impedance target such as 100 ohms with a 10 percent tolerance and a skew target of 50 ps or less may be adopted by the system designer when appropriate, but neither value is confirmed as a factory specification for this model. The host designer must validate the actual cable and PCB stack-up.
💡 Bench Tip: Use ESD protection, disconnect power before inserting or removing the FPC, and engage the connector lock only after the cable is fully parallel and evenly seated.
For a potential harsh marine radar or navigation bridge console replacement, final acceptance should include enclosure fit, connector strain relief, optical readability under the intended lighting, startup behavior at the qualified low temperature, and resistance to vibration at the equipment level. Salt-fog, shock, vibration, ingress, lifetime, and EMC claims require the applicable assembly test evidence; they should not be inferred from the DMF50081ZNB-FW model identity alone.