Content last revised on September 27, 2026
SKKT91/16E Thermal Electrical Optimization for SVC Protection
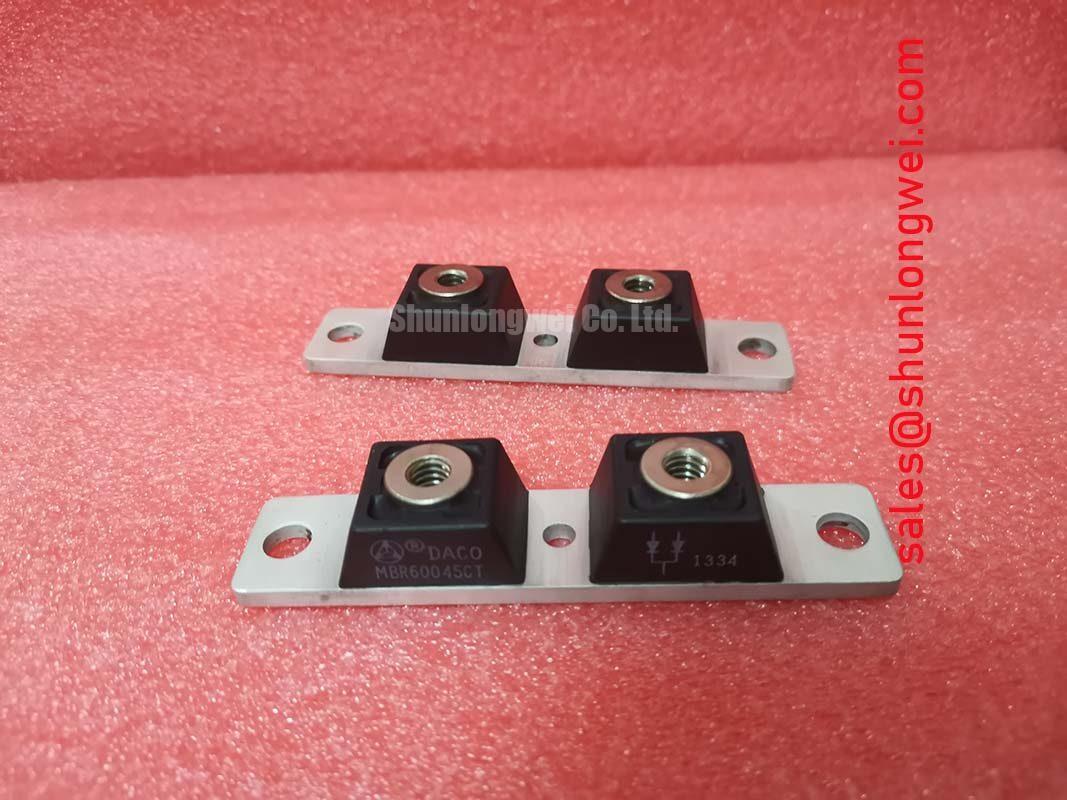
Begin service evaluation by isolating the power stage, checking the module marking against the maintenance record, and inspecting the Semipack housing, terminals, and mounting surface before applying test voltage. The Semikron SKKT91/16E is identified in the supplied factory parameter set as a dual-thyristor module with a specified voltage rating of 1600 V, a rated current of 91 A, and a Semipack housing.
For a grid tied static Var compensator or thyristor switched capacitor assembly, these ratings are only one part of the integration decision. The system engineer should verify the actual line voltage, repetitive switching duty, fault current, cooling arrangement, and protection coordination against the original equipment documentation. A primary spark gap, metal oxide varistor, semiconductor fuse, and RC snubber network should be evaluated as a coordinated protection system rather than selected from the module voltage marking alone.
IEEE 61000-4-5 may be relevant when the complete installation is assessed for surge immunity, but the presence of this module does not establish compliance for the finished SVC cabinet. MOV clamping behavior, fuse clearing performance, wiring inductance, and the energy handled by the snubber require system level testing. The applicable fuse I²t coordination data, peak on state current, surge current capability, and thermal resistance should be taken from the correct Semikron technical documentation for the exact device revision; values not included in the supplied parameter set should not be assumed.
Terminal connections should be checked against the original circuit diagram before energization. Confirm that the AC paths, controlled rectifier paths, gate connections, and auxiliary protection wiring correspond to the equipment design. The Semikron SEMIPACK thyristor and diode module reference provides useful product family context, while the specific installation must still follow the applicable device documentation.
Field Diagnostics and Commissioning in Phase Controlled Rectification
Commissioning should start with a de energized continuity and insulation assessment, followed by a controlled review of gate circuit wiring and phase sequence. Do not infer a healthy junction from a single resistance reading. Compare each phase path with the known good circuit, inspect for unintended conductive paths through snubbers or MOVs, and confirm that the gate driver is referenced correctly for the installed topology.
In a phase controlled rectifier, changing the firing angle changes the average DC output, input current waveform, displacement power factor, and reactive power demand. A control range extending toward late firing angles can produce substantially different operating stress from near full conduction. The appropriate firing range is determined by the SVC control strategy, load condition, grid impedance, and capacitor or reactor arrangement; it should be validated with isolated voltage and current probes during commissioning rather than assumed from a generic angle table.
Use an oscilloscope to compare gate pulse timing across phases and correlate each pulse with the intended anode to cathode voltage condition. If one phase shows delayed triggering, incomplete conduction, or abnormal recovery behavior, inspect the driver supply, pulse transformer or isolation interface, gate return path, and local noise coupling before assigning the fault to the module. The original fuse I²t requirement and surge current information must be verified from the relevant Semikron data before replacing protection devices.
For a neutral product comparison within the same broad Semipack application area, engineers may review SKKT 250/14E. It should be evaluated independently for voltage, current, mechanical arrangement, gate characteristics, thermal limits, and circuit compatibility; it is not an automatic substitute for the SKKT91/16E.
Heatsink Contact Pressure and Preventive Maintenance
Thermal inspection begins with the heatsink, not the semiconductor junction. Remove dust from the cooling path, check that the mounting face is clean and even, and inspect the interface material for drying, displacement, or contamination. The SKKT91/16E official physical data supplied for this page specifies the Semipack housing, but it does not provide a mounting torque value or junction to case thermal resistance. Those values must be confirmed from the applicable manufacturer mechanical and thermal documentation.
Uniform contact pressure is a design consideration because uneven loading can distort the module base or leave portions of the contact area poorly coupled to the heatsink. Use the specified fastener arrangement and an appropriate calibrated torque method from the installation document. Do not substitute a guessed torque value, and do not use the mounting hardware to correct a warped heatsink. A flat, clean interface and an even layer of approved thermal compound are more important than forcing the assembly tight.
Measure temperature at comparable operating points and compare phases under the same load. A rising contact temperature may involve airflow restriction, degraded interface material, loose terminals, overload, switching behavior, or an inaccurate sensor location. Confirm the complete thermal path before concluding that the module itself is defective. The advanced thermal management reference can support broader maintenance planning for heatsink and cooling architecture.
Maintenance Note: Keep the heatsink airflow path clean and periodically compare terminal temperature and contact temperature under a repeatable load.
When the equipment operates in a high humidity area, inspect for condensation marks, corrosion, and degraded insulation around the power terminals. Enclosure heating, ventilation, and moisture control remain system responsibilities. The Semikron CAL diode technology reference offers general semiconductor technology context, but it should not be used to infer unlisted SKKT91/16E ratings.
Benchtop Waveform Tuning for Gate and Commutation Stress
Waveform work should be performed with the power stage isolated or connected to a properly controlled low energy test arrangement. Capture the gate to cathode signal, the associated device voltage, and the load current with probes suited to the circuit. Look for inconsistent pulse amplitude, ringing, excessive common mode pickup, and timing differences between phases. Any abnormal waveform should be checked against the driver, isolation components, grounding arrangement, and probe setup.
The requested design review topics include gate pulse rise behavior, holding current, multi pulse firing, Miller related capacitance, active clamping, and laminated busbar parasitic inductance. These are design considerations rather than confirmed SKKT91/16E factory specifications. The supplied product data does not establish a gate current threshold, a required pulse rise rate, a holding current value, a capacitance value, or an active clamp requirement. Designers should obtain those characteristics from the correct device datasheet and verify them during switching tests.
Minimize the high current commutation loop and keep the gate drive return path controlled to reduce unwanted coupling. A laminated busbar can help reduce stray inductance when its construction is appropriate, but the resulting turn off overshoot must be measured at the module terminals. Verify peak voltage margins against the DC link and protection network during the actual switching sequence. If an RC snubber or MOV is added, tune it from measured ringing and energy conditions rather than from a universal component value.
Multi pulse firing can be considered when the control system requires improved triggering consistency, but pulse spacing, driver isolation, gate power, and thyristor operating conditions must be validated together. A gate waveform that appears clean on the bench may change after the power bus, heatsink, cabinet wiring, and SVC control hardware are connected. Record the measured waveforms for each phase and recheck them after thermal stabilization and under the intended operating load.