Content last revised on October 20, 2026
7MBR15SA140E-01 Ratings and Pre-Installation Checks
- With the DC link isolated and discharged, inspect the module’s main-terminal joints and compare their condition with the equipment’s service records.
- Check that the heatsink mounting surface is clean, flat, and free of debris before installation.
- Review the gate-driver wiring and insulation condition before reconnecting control power.
- Confirm that the installed fuse and overvoltage network match the drive’s protection design and documented coordination study.
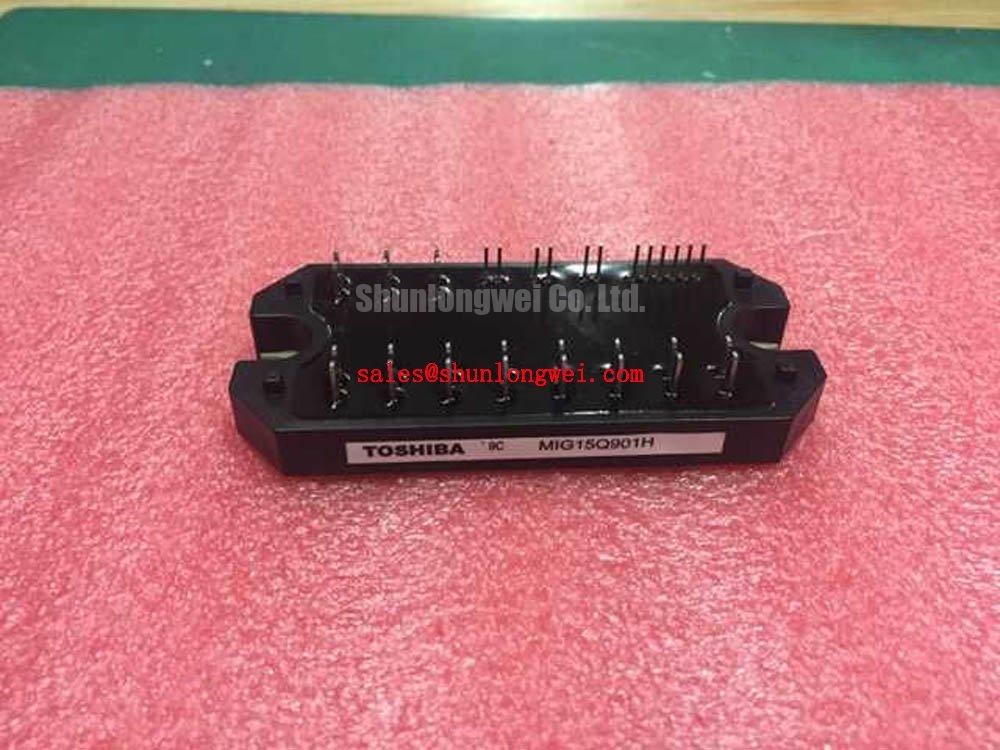
The Fuji Electric 7MBR15SA140E-01 is a power module with an official collector-emitter voltage rating of 1400 V and a continuous collector current rating of 15 A at a case temperature of 25°C. Its listed collector-emitter saturation voltage is 2.7 V maximum at IC = 15 A and VGE = 15 V. These values provide a starting point for checking the device against the original drive design; they do not, by themselves, establish allowable current under every switching, cooling, or fault condition.
| Parameter | Symbol and condition | Official specification |
|---|---|---|
| Collector-emitter voltage | VCES | 1400 V |
| Continuous collector current | IC, TC = 25°C | 15 A |
| Collector-emitter saturation voltage | VCE(sat), IC = 15 A, VGE = 15 V | 2.7 V maximum |
| Junction-to-case thermal resistance | Rth(j-c), per IGBT | 1.14 °C/W |
| Isolation voltage | Viso, AC, 1 minute | 2500 V |
| Maximum specified junction temperature | Tj | +150°C |
7MBR15SA140E-01 Circuit Protection and Reliability: Fuse Coordination
Protection coordination starts with the actual fault path, not the fuse label. In a drive cabinet, identify which fuse interrupts the DC-link fault current and whether its location protects the module against the relevant short-circuit path. Compare the fuse manufacturer’s total-clearing I²t data at the prospective fault current with the module’s applicable transient withstand information from the device documentation. The ratings supplied here do not state a short-circuit withstand time or an I²t limit, so neither can be inferred from the 15 A continuous-current rating.
A fuse’s clearing energy depends on fault current and the fuse’s time-current behavior. A coordination review should use the available DC-link voltage, source impedance, bus capacitance, wiring inductance, and fuse operating data for the equipment under review. Check the fuse’s interrupting rating against the available fault current, as well as its voltage rating and DC application suitability. A fast semiconductor fuse is not automatically coordinated simply because its nominal current is close to the module current rating.
Inspect the physical installation for adequate clearance around live conductors and for separation that preserves the equipment’s insulation design. Creepage distance follows surfaces; clearance is the shortest path through air. Required distances depend on system voltage, pollution conditions, material group, altitude, and the applicable equipment standard. Treat those distances as system-level insulation requirements rather than properties guaranteed by the module’s 2500 V AC, one-minute isolation-voltage rating.
For a recurring fuse operation, record the fault history and inspect the power path before replacing components. Look for loose bus connections, damaged insulation, conductive contamination, and evidence of arcing. Review the drive’s event log and protection sequence to determine whether the fuse opened during a semiconductor fault or a downstream wiring fault. The coordination decision should account for the complete interruption path and the equipment’s containment requirements; a module rating alone cannot establish that a cabinet will prevent enclosure damage.
7MBR15SA140E-01 Thermal-Electrical Optimization: Main Power Terminal Contact
Terminal heating is best assessed across the assembled current path. With the equipment safely isolated, examine the module terminals, busbar faces, fasteners, and adjacent insulation for discoloration, pitting, or movement. A micro-ohmmeter can help compare joint resistance between equivalent phases or against an established baseline, but the reading is sensitive to probe placement, surface condition, and measurement technique. Use acceptance limits from the applicable assembly or service documentation rather than an assumed universal joint-resistance threshold.
Use thermal imaging during a controlled operating condition to compare equivalent joints at similar load and airflow. Record the load, ambient conditions, measurement location, and time after startup; otherwise, readings from separate inspections may not be comparable. A localized temperature difference can point to a connection or current-sharing issue, but it should be confirmed by checking the joint, current balance, and cooling path rather than assigned a single cause.
Fastener torque, hardware, and tightening sequence should follow the equipment assembly documentation or the module manufacturer’s applicable instructions. Avoid using a generic torque value as a substitute for the specified terminal limit: excessive force can damage a terminal, while insufficient clamping can raise contact resistance. Keep mating surfaces aligned and free of foreign material, and ensure that the busbar does not place mechanical strain on the module terminals.
Fuse coordination belongs in the same review because a poor connection and a protection mismatch can produce different thermal signatures. Compare the installed fuse’s total-clearing behavior with the fault current expected at the module, using device transient limits from the applicable technical documentation. The module’s 1.14 °C/W junction-to-case thermal resistance per IGBT is an official thermal parameter, but it is not a complete system thermal model: heatsink performance, interface condition, switching losses, and load profile also affect junction temperature.
For replacement planning, compare the complete electrical and mechanical requirements before selecting a device. The 7MBP75RU2A120-50 is another Fuji Electric module that may be evaluated as a separate candidate; its ratings and package must be checked against the specific drive design rather than assumed interchangeable.
Benchtop Waveform Tuning: Baseplate Interface and Switching Stress
Mounting quality affects the heat path from the module case into the heatsink. Before assembly, check the heatsink contact area for burrs, embedded debris, and visible distortion. Apply the interface material using the assembly method specified for the equipment and spread it consistently across the contact area. The layer thickness should follow the requirements of the selected interface material and the equipment’s assembly process. Do not use excess compound to compensate for an uneven mounting surface.
Bring the module down evenly using the specified fastener sequence and torque. A staged, alternating sequence is a general assembly consideration that can help avoid uneven pressure, but the applicable torque and sequence must come from the module or equipment documentation. If the baseplate or heatsink shows curvature or rocking, correct the mechanical interface rather than tightening one side harder. Recheck the mounting after assembly for even seating and verify that the power terminals remain free of mechanical load.
When investigating switching stress, capture gate-emitter voltage and collector-emitter voltage with suitable differential probes and a measurement setup that minimizes probe-loop pickup. Compare turn-on and turn-off behavior across phases and operating conditions. Parasitic inductance in the commutation loop can contribute to voltage overshoot during rapid current change, while common-mode transients can disturb the driver’s reference. A compact, symmetric power-loop layout and a clearly controlled gate-return path are Design Considerations; the acceptable waveform margins depend on the drive topology and must be established by the system designer.
Gate-off bias, Miller clamping, and driver-side filtering should be assessed as a coordinated circuit. Do not select a negative gate voltage or damping value from the module’s voltage and current ratings: those settings depend on the driver, switching conditions, and immunity to parasitic turn-on. If a waveform changes when the probe position or grounding arrangement changes, first rule out measurement artifacts before modifying the gate network. Any tuning should be followed by checks over the relevant operating range, including startup, steady operation, and commanded shutdown.
For engineers evaluating the module in a high-dynamics multi-axis CNC or robotics servo drive, compare its documented ratings and mounting arrangement with the original power stage and its cooling system. The Precision Gate Drive Design guide provides additional context for assessing driver layout and switching behavior. Thermal cycling can also contribute to fatigue in electronic assemblies; the Coffin-Manson thermal fatigue model is background material, not a lifetime prediction for this module.