Content last revised on September 22, 2026
G242CX5R1AC AUO Industrial Grade LCD Display Module
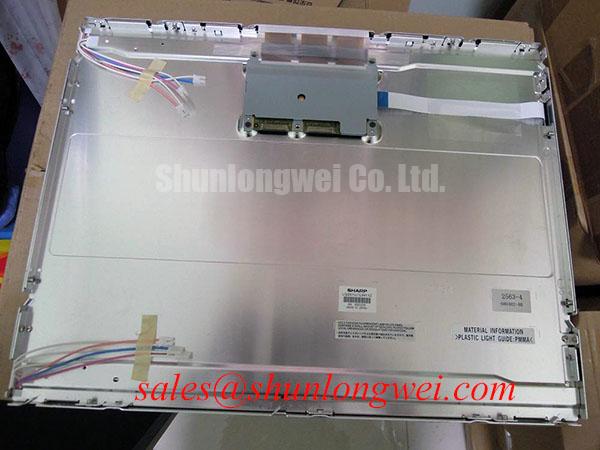
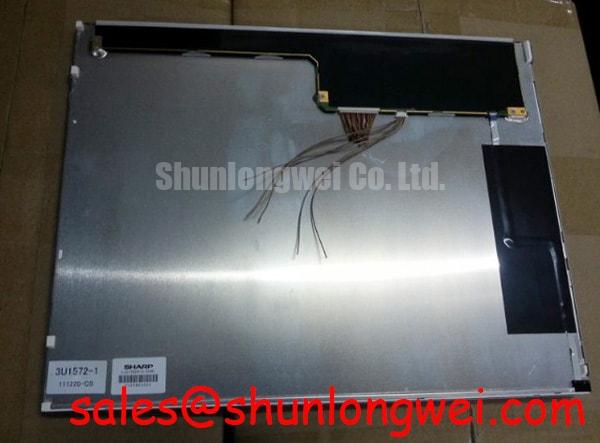
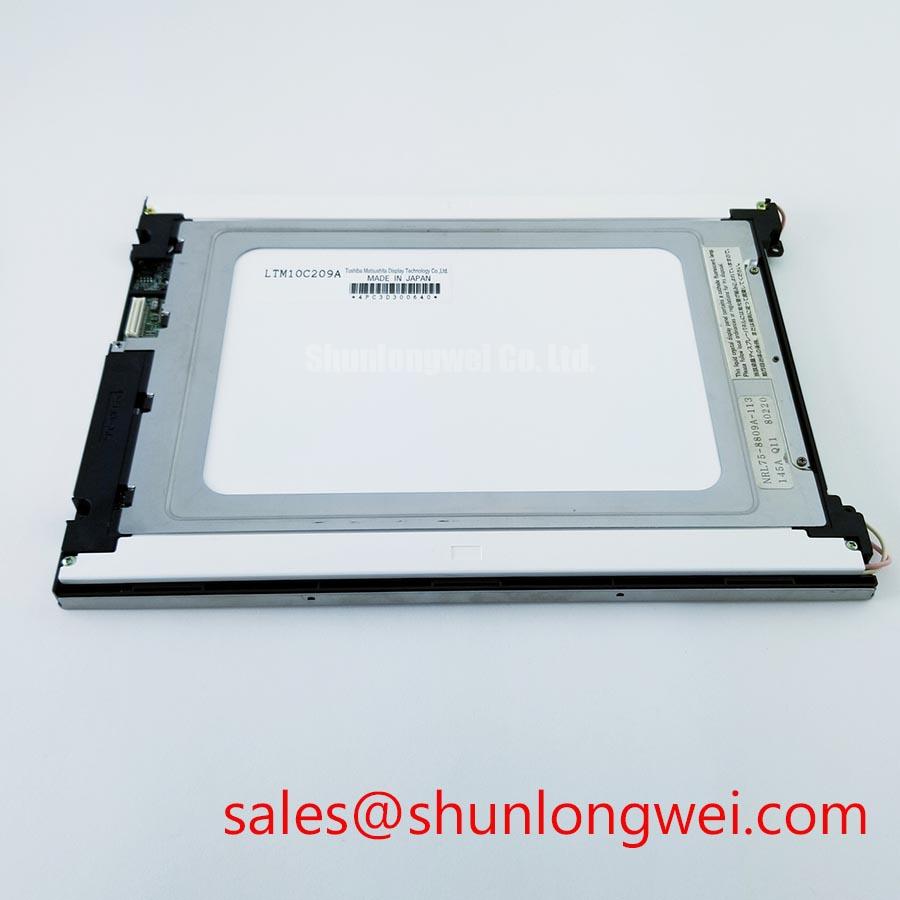
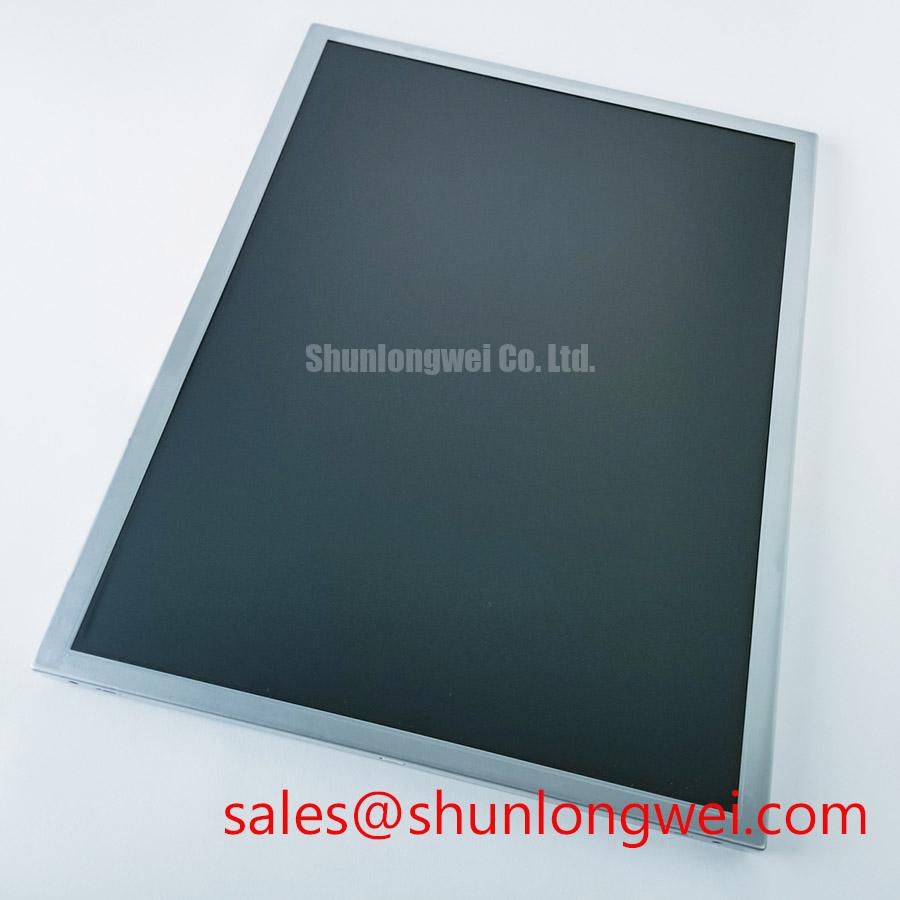
Begin replacement work by isolating the display assembly, recording the original panel identification, and checking the enclosure for dust ingress, bezel distortion, and uneven fastening before disconnecting the signal cable. The G242CX5R1AC is an AUO industrial grade LCD/HMI panel supplied as a TFT LCD display module. Its listed specification status is Official Factory Spec Verified.
| Parameter | Verified information |
|---|---|
| Model | G242CX5R1AC |
| Manufacturer | AUO |
| Product category | Industrial Grade LCD/HMI Panel |
| Construction category | TFT LCD Display Module |
| Specification status | Official Factory Spec Verified |
The available factory information does not establish a supply voltage, interface pinout, backlight electrical rating, viewing angle, resolution, luminance, contrast ratio, or operating temperature range. The system integrator should verify each of these values against the original panel documentation and the equipment service drawing before energizing a replacement. This prevents a visually similar module from being connected to an incompatible controller or backlight circuit.
Backlight Assessment and Dimming Compatibility
For a high voltage substation protection or SCADA dispatch console, the display should first be evaluated as part of the complete HMI assembly rather than as an isolated optical component. Confirm the original controller output, backlight driver type, dimming method, enable signal, and power sequencing. The supplied information for G242CX5R1AC does not verify a specific LED driver architecture, constant current value, PWM ratio, CCFL circuit, or rated half-life. Those characteristics must be checked in the panel documentation and the host equipment schematic.
When the console operates in a low-temperature control room or an enclosure exposed to rapid temperature changes, observe the image during startup, brightness transitions, and extended operation. Slow image response, unstable brightness, or visible flicker should be compared with a known-good signal path before assigning the fault to the panel. A heater strip or enclosure temperature control should only be considered after the original system design and environmental limits have been confirmed.
For material planning, engineers may review the M185XW01 VE as a separately listed display option during a compatibility study. It should not be treated as a direct replacement without confirming mechanical dimensions, optical characteristics, electrical interface, controller compatibility, and firmware behavior.
Industrial EMI Routing and Chassis Shielding Continuity
In substations and industrial control cabinets, route the display cable away from high-energy switching conductors and inspect the connector shell, cable shield termination, and chassis bonding path during installation. A horizontal noise band, intermittent pixel activity, or unstable image can have several possible causes, including signal integrity, grounding, connector contact, power disturbance, or controller behavior. Compare the affected panel with a known-good assembly and verify the signal at the host interface with suitable measurement equipment.
Do not assume that a cable advertised for another TFT panel has the same conductor assignment or shielding arrangement. The required supply voltage, interface standard, differential-pair assignment, and display timing must be taken from the original panel documentation. If the equipment uses an LVDS connection, the system designer should verify pair polarity, termination, cable length, and chassis-shield continuity as part of the complete system validation rather than assigning generic values to this model.
For background on display selection, interface behavior, and common industrial TFT misconceptions, consult The Ultimate Guide to Industrial TFT LCD Technology. The physical enclosure and grounding design should also be evaluated independently. General semiconductor references on depletion-region physics and partial discharge may help with broader high-voltage equipment assessment, but they do not define the electrical limits of this LCD module.
Viewing Direction, Grayscale Inspection, and Optical Alignment
Before removing the original panel, photograph the display orientation, mounting direction, cable exit position, and operator viewing angle. TN, IPS, and other LCD technologies can produce different grayscale behavior and viewing-direction characteristics, but the supplied factory information does not identify the panel mode, viewing cone, optical coating, resolution, or contrast ratio for G242CX5R1AC. These values should be confirmed from the applicable AUO documentation rather than inferred from the model number.
During acceptance testing, display neutral gray, dark-field, and high-contrast test patterns while observing the panel from the actual operator position. Check for image inversion, uneven brightness, localized mura, and reflections under the cabinet lighting used in service. If the image changes unexpectedly with cable movement, test the connector and signal path before changing the panel. Differential signaling should be validated according to the controller and cable documentation, with oscilloscope measurements used where timing or noise concerns remain.
Maintenance Note: Inspect the cabinet airflow path and the display sealing gasket during scheduled service, because dust accumulation, compressed seals, or moisture around the bezel can affect long-term display reliability.
Mechanical Fit, Thermal Clearance, and Enclosure Installation
Place the replacement module into the enclosure without forcing the bezel or compressing the panel against an uneven cutout. Check that the metal opening is free from burrs, that the gasket contacts continuously, and that the fastening pattern distributes pressure evenly. The official information supplied for this model does not specify enclosure dimensions, fastener size, tightening torque, thermal expansion clearance, or optical compression limits. These installation values must therefore come from the original equipment drawings or the applicable mechanical specification.
Use a cross-pattern fastening sequence when the equipment design requires multiple mounting points, allowing the panel to settle evenly before final inspection. Do not use the fasteners to correct a distorted cabinet opening. Localized mechanical stress may appear as brightness nonuniformity, dark areas, or visible optical defects, but these symptoms can also originate in the panel, controller, cable, or backlight system. Verify the complete assembly under both cold startup and stabilized operating conditions.
Before reconnecting power, confirm connector orientation, cable retention, chassis clearance, and the documented power sequence. The system integrator should verify the required supply voltage from the original panel documentation. After installation, record the displayed test pattern, brightness setting, operating temperature, and cabinet condition so future maintenance teams can compare changes against a known baseline.