Content last revised on October 1, 2026
Preventing Spurious Faults on the T190C-5RBA16N-3A28R4-200FH Signal Path
| Hardware specification | Official factory information |
|---|---|
| Model | T190C-5RBA16N-3A28R4-200FH |
| Manufacturer | AUO |
| Product category | Industrial grade LCD/HMI panel |
| Physical assembly | HMI touch screen assembly |
| Specification status | Official factory specification verified for the identity and physical classification shown above |
Display a full-screen black image, then white and primary-color fields, while watching for intermittent lines, stuck-looking pixels, and regions that change when the external cable is gently repositioned. Record which defects remain fixed and which appear only during movement. A fixed bright point and a momentary band across the image call for different follow-up checks; neither observation alone identifies a failed panel.
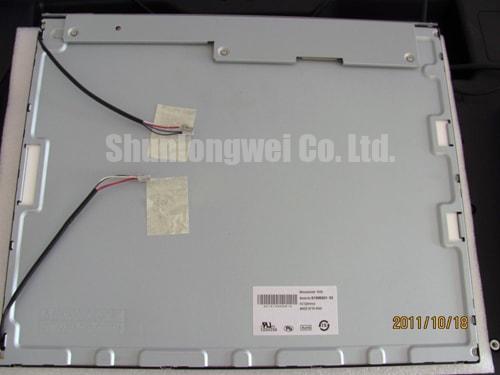
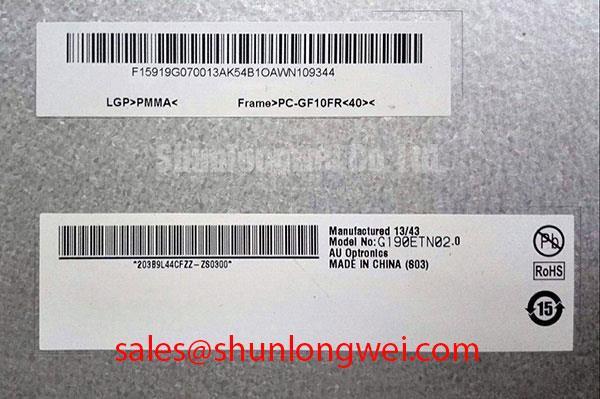
The T190C-5RBA16N-3A28R4-200FH is identified as an AUO industrial grade LCD/HMI touch screen assembly. Its stated product information does not establish a connector pinout, display interface, resolution, supply rating, or touch-controller interface. For incoming inspection, match the assembly marking and connector arrangement to the equipment’s original panel documentation before making a powered comparison. Photograph cable orientation and latch position before removal so that a repeat test does not introduce a new connection fault.
With power isolated, inspect accessible connector contacts under magnification for contamination, bent metal, uneven insertion, or a latch that fails to close squarely. On the next powered run, compare an affected image region with a known-good signal path using the equipment’s documented test points. If a band changes when the cable is disturbed, investigate contact stability and signal integrity before classifying the optical area as defective. Do not probe an unidentified connector by assuming that a familiar-looking pin position carries the same signal as another AUO assembly.
💡 Bench Tip: Remove power and use ESD precautions before reseating a ribbon cable, then confirm that it sits level across the connector before closing the latch.
If the documented host interface uses differential signaling, trace routing and termination become relevant Design Considerations. A 100 Ω differential impedance is a common design reference for some display links, not an official specification for this assembly or permission to alter an existing host board. Determine the actual interface, termination, and timing limits from the matched system documentation; assess suspected skew or noise at the receiving end under the installed cable arrangement. A fuse-clearing or semiconductor melt calculation does not describe an LCD signal fault and should not be used to judge this panel.
Thermal and Electrical Checks for the T190C-5RBA16N-3A28R4-200FH
Run the same white-field image after the display has stabilized, then compare brightness and color across the visible area without changing the viewing angle. Log any dark corner, warm-looking patch, or region that shifts noticeably as the assembly warms. Repeat the observation from a consistent position: viewing-angle color changes can be mistaken for a uniformity defect when the operator moves between measurements.
Use a luminance meter or calibrated camera setup if quantitative comparison is needed, keeping exposure, ambient light, image pattern, and measurement positions consistent. A visual sweep remains useful for locating a problem, but it cannot establish a factory uniformity limit when no such limit has been supplied. Compare results with the equipment’s acceptance criteria or a documented reference assembly rather than assigning a pass threshold to the model number.
Inspect the installed enclosure for blocked ventilation, nearby hot components, and points where a mounting frame presses unevenly against the display. These are Design Considerations for the equipment, not claims about the panel’s internal backlight construction. A localized change that develops during operation warrants separate checks of image drive, backlight behavior, enclosure temperature, and mechanical pressure. Keep those observations distinct in the inspection record so that an electrical symptom is not attributed to heat solely because it appeared after warm-up.
For a medium-frequency induction melting or hardening furnace HMI, engineers may evaluate this assembly as a replacement only after matching the original display and touch connections, mounting geometry, and environmental provisions. That equipment is a compatibility example, not a stated application rating for T190C-5RBA16N-3A28R4-200FH. Its power electronics may require their own protection and damping design; RC snubbers, reactors, and thyristor voltage sharing are not panel settings. The host display supply and any backlight control should instead be checked against the original equipment wiring and panel documentation.
Benchtop Optical and Touch Response Evaluation
Move a high-contrast test image slowly across the screen and note whether a visible defect stays at the same physical location or follows the displayed content. Then compare uniform gray fields at several image levels. Repeat suspected pixel observations with the surface cleaned and the test pattern changed; dust, surface marks, source-image artifacts, and genuine display defects can look similar in a single photograph.
Gray-field testing also helps separate a sharp line or block from a broad tonal shift. If grayscale steps appear compressed or tinted, compare the source output and connector seating before treating the panel as the cause. Timing control and gamma behavior affect how a display renders these steps, but the available specification does not identify this assembly’s timing-board design or gamma targets. Use the original system documentation and a known-good image source to define the comparison.
Check touch response with the equipment’s diagnostic screen, if one is available. Test points near the center and along the usable edges, and record missed, displaced, or repeated responses together with the exact test conditions. The designation HMI touch screen assembly does not establish whether its touch sensing is projected capacitive or another technology. The general operating principles of touchscreen systems can help frame a fault investigation, but the sensing method and calibration procedure must come from the matched equipment information.
Inspect the visible viewing area and exposed edges for separation, trapped contamination, and pressure marks without assuming a particular optical-bonding process. Optical bonding can influence reflections and the appearance of internal interfaces, yet it is not an identified factory feature of this model in the supplied specification. Similarly, do not label a viewing-angle shift as an IPS or MVA failure without confirmation of the installed LCD technology. For a broader explanation of display behavior and inspection terms, consult The Ultimate Guide to Industrial TFT LCD Technology, then apply the equipment’s own acceptance criteria to this assembly.
Transient Symptoms and Host Interface Compatibility
Capture the host display output during startup if the screen flashes, remains blank, or recovers only after a restart. Compare the observed sequence with the equipment schematic: when the display supply becomes stable, when image data begins, and when the backlight is enabled. This distinguishes a reproducible startup symptom from an intermittent cable fault without inventing a power-sequencing requirement for T190C-5RBA16N-3A28R4-200FH.
The system integrator should verify the required supply voltage from the original panel documentation. Verify the connector pin assignment, allowable input timing, and backlight-control method in the same way before attaching a replacement assembly. The model information provided here does not confirm TTL, LVDS, USB, or any specific backlight-control interface. If the documented touch controller communicates over USB, USB interface principles may inform host-side troubleshooting; that reference does not establish USB support for this assembly.
Where the verified display link is clocked, compare the received clock and data waveforms against the matched interface requirements across the equipment’s operating conditions. Clock jitter, data hold time, cable routing, and connector contact quality are Design Considerations when an image breaks up near electrically noisy equipment. Measure at the relevant receiver or documented test point rather than assigning a universal timing margin to the panel. An image that changes with machine state may justify a comparison between quiet and active operation, while leaving the final fault attribution open until the waveforms and supply behavior have been checked.
Surge protection belongs to the equipment’s power-entry design, not to an undocumented feature of this LCD assembly. If a furnace HMI repeatedly loses its image after plant disturbances, inspect the host supply and protection path using the equipment schematic, then repeat the display tests after the supply has been shown to behave correctly. Keep the panel decision tied to observable fit, connection, optical response, and touch operation; leave MOV selection, spark-gap coordination, and power-stage snubber values to the system design assessment.