

Content last revised on September 19, 2026
Benchtop Waveform Tuning: Mitigating Stress via Sizing Braking Resistors and Chopper Trans on PM50CSE060
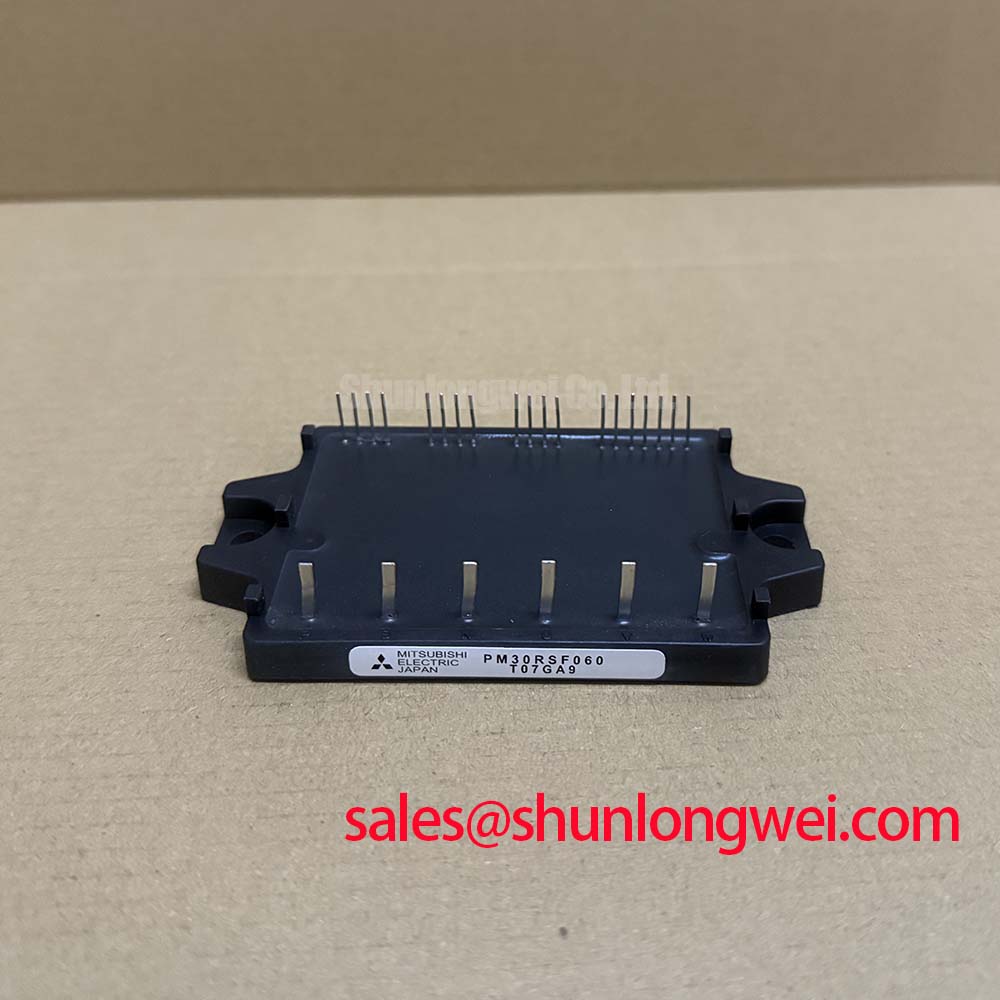
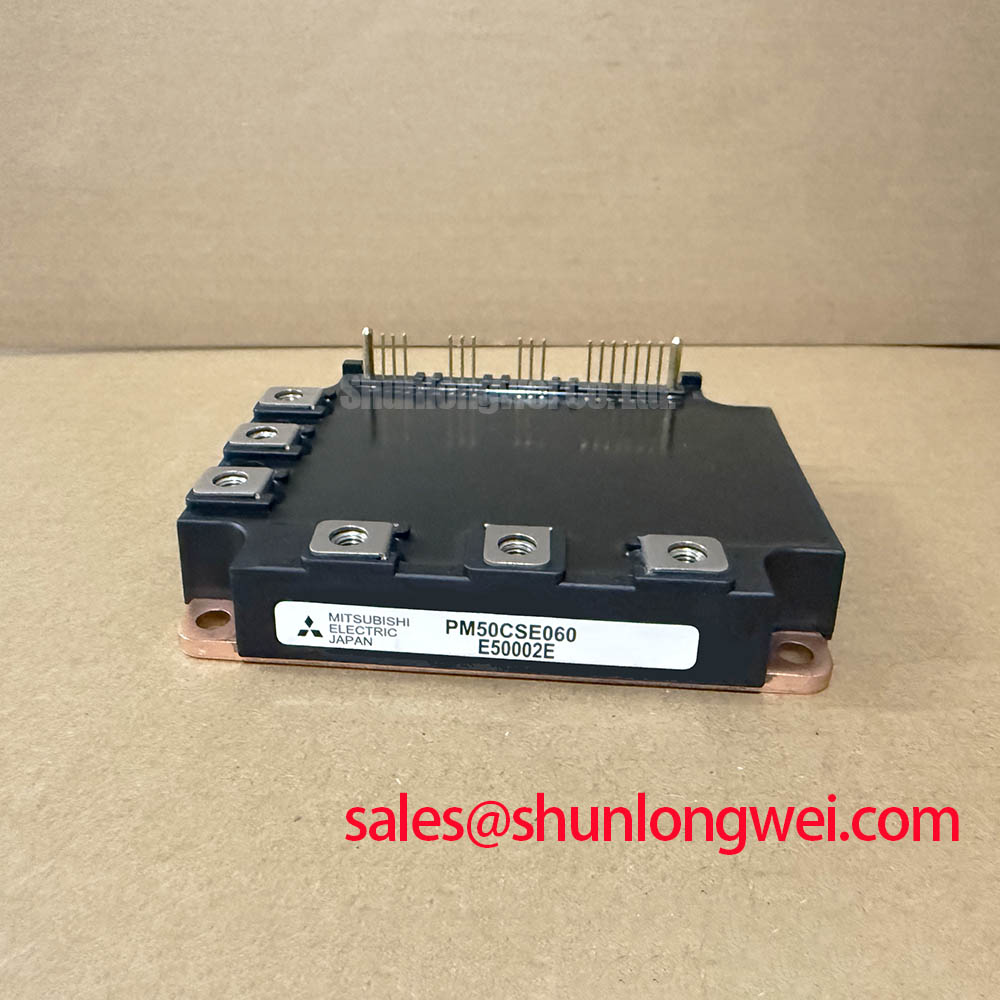
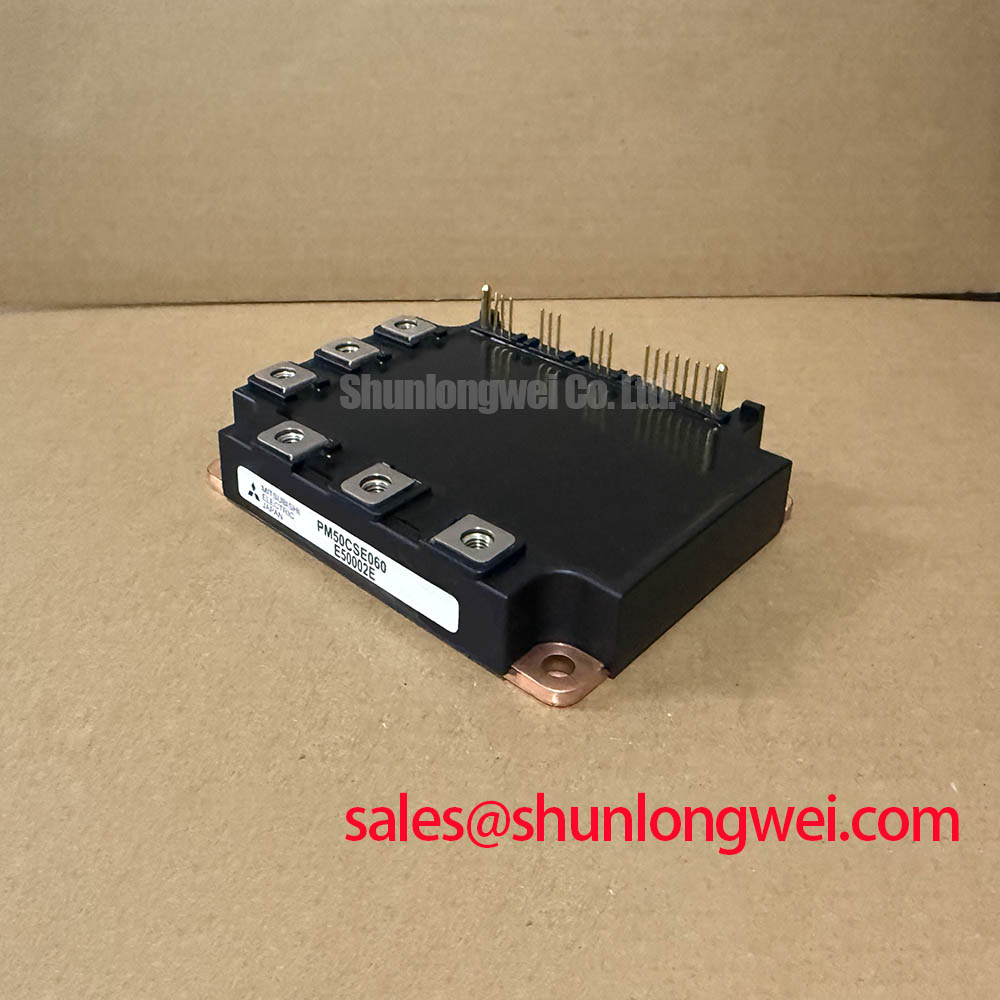
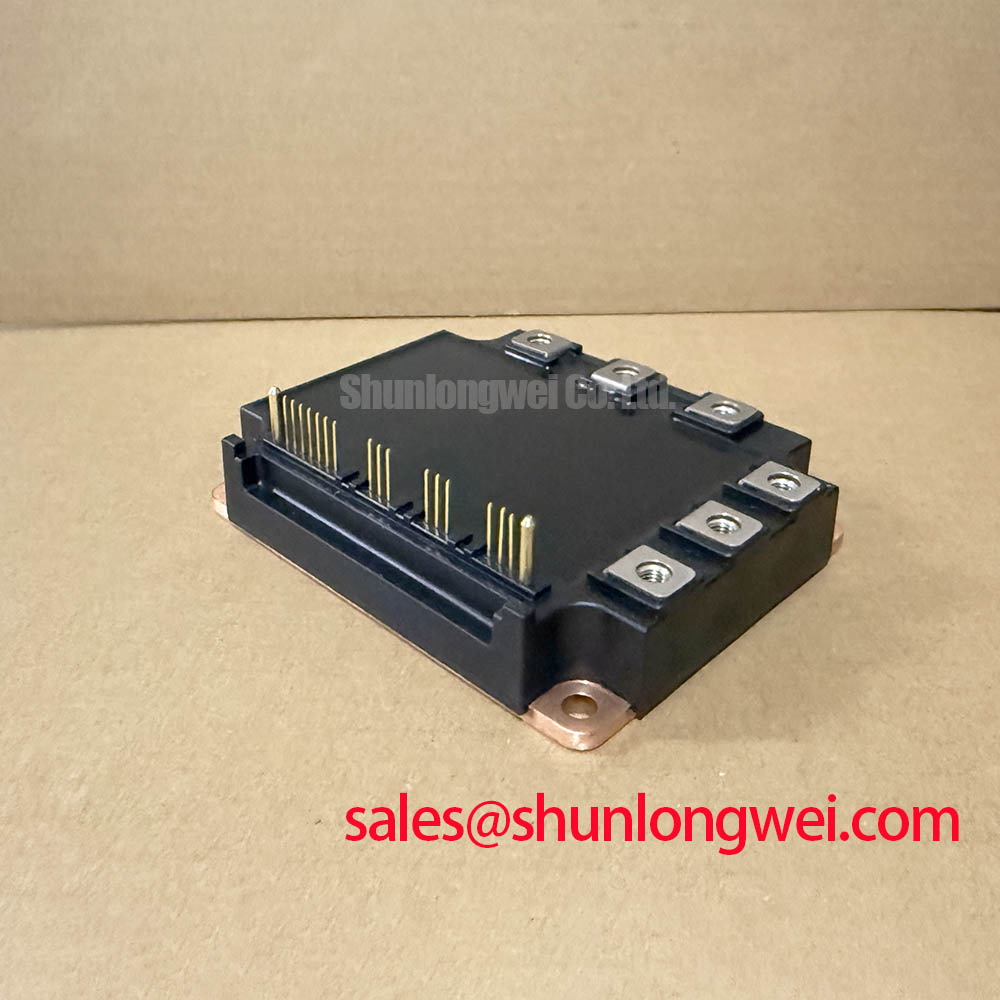
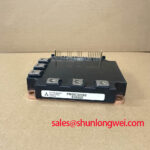
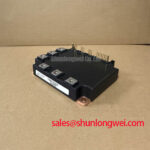
With the drive isolated and the DC link discharged, first confirm that the nameplate and power terminal arrangement match PM50CSE060, then inspect the module case, terminals, screw seats, and heatsink contact surface for cracks, looseness, contamination, or evidence of uneven clamping. This Mitsubishi Electric IPM module has specified ratings of 600.0 V and 50.0 A, with a Mitsubishi IPM Module housing. These are Official Datasheet Specifications and define the electrical identity that a replacement assessment must preserve.
| Parameter | Specification | Classification |
|---|---|---|
| Product model | PM50CSE060 | Official identification |
| Manufacturer | Mitsubishi Electric | Official identification |
| Voltage rating | 600.0 V | Official Datasheet Specification |
| Current rating | 50.0 A | Official Datasheet Specification |
| Package | Mitsubishi IPM Module | Official package description |
For maintenance work on light industrial automation equipment or a multi joint robotic articulator drive, the original controller documentation remains the reference for terminal assignment, gate drive arrangement, fault outputs, auxiliary supply connections, control interlocks, and protection sequencing. A matching voltage and current rating alone does not establish direct circuit compatibility. The system integrator should verify the original drive schematic and module documentation before energizing a repaired assembly.
Before replacing a failed power module in a servo drive or compact automation inverter, check whether the DC link rises abnormally when the motor decelerates. A rotating load returns kinetic energy into the DC link during braking. If the drive includes a braking chopper path and resistor bank, that energy must be transferred and dissipated according to the controller’s intended operating sequence. The PM50CSE060 specified voltage rating of 600.0 V defines an official voltage boundary, but it does not disclose the complete braking topology, braking transistor allocation, resistor duty cycle, or permissible regenerative energy of a particular machine.
A practical field check starts with the braking resistor wiring, connector retention, insulation condition, and any thermal switch or controller feedback path associated with that resistor assembly. A disconnected resistor, damaged cable lug, or open safety interlock can leave the controller unable to process regenerated energy as expected. Inspect the DC link waveform with suitably rated measurement equipment while comparing a controlled acceleration and deceleration event against the machine’s known operating behavior. A rising bus voltage can be associated with braking circuit issues, control configuration, an unsuitable deceleration profile, or an external mechanical load condition. It should not be attributed to the IPM alone without waveform evidence.
Design Consideration: braking resistor selection is governed by the energy returned by the moving system, repetition rate, resistor thermal capacity, enclosure temperature, and the drive controller’s actual chopper threshold. Engineers should verify these conditions from the equipment documentation and confirm the resistor’s continuous and pulse capability under the required machine cycle. The module should be assessed within the complete DC link, rather than as an isolated switching element.
Keep the braking current path physically compact and mechanically secure where the original equipment layout permits. Long loop paths can increase radiated and conducted disturbance during switching, while poor terminal contact can create localized heating. If a board repair changes busbar routing, cable routing, or the location of the resistor assembly, repeat switching measurements before returning the equipment to service.
In a complete converter chain, an upstream rectifier or related power stage may also influence DC link behavior. For comparison during a topology review, the CM100DY-12E is a separate power module that can be evaluated as an associated rectifier or complementary converter element only against its own documentation and the original circuit requirements. It is not presented as a prescribed substitute for PM50CSE060.
PM50CSE060 Circuit Protection & Reliability: Calibrating Turn Off di/dt Induced Vpeak Clamping
When checking a repaired inverter, capture collector voltage and phase current during turn off rather than relying on a static meter test alone. The switching peak is influenced by DC link voltage plus the product of stray loop inductance and the rate of current change. This is an Engineering Calculation principle, expressed in operation as Vpeak rising when either loop inductance or turn off current slew increases. The actual peak margin must be verified against the 600.0 V Official Datasheet Specification and the original system’s switching conditions.
Design Consideration: minimize parasitic inductance in the commutation path to suppress turn off overshoot. Symmetrical busbar geometry, closely coupled positive and negative DC conductors, and appropriately located DC link capacitors can reduce loop area. The acceptable geometry, capacitor arrangement, and physical clearance are determined by the specific drive, insulation system, controller layout, and measured waveform results. Do not apply a generic inductance target or capacitor value to this module without validating the complete circuit.
Snubber components, where used by the original design, require inspection for electrical connection, thermal damage, and correct placement. An open or degraded snubber may alter ringing and voltage stress; a changed capacitor or resistor value may also change switching loss and waveform behavior. Examine the waveform with a probe method suitable for fast high voltage switching. A long ground lead on an unsuitable probe can create misleading ringing, so compare the measurement setup with a known stable test point where possible.
Fuse coordination also belongs to the whole protection chain. A high speed semiconductor fuse can limit fault energy only when its clearing behavior, available fault current, controller response, and upstream source conditions have been evaluated together. Design Consideration: compare the fuse time current and energy information with the module documentation and the equipment’s protection concept. No specific surge withstand or fuse coordination value is asserted here because it is not included in the supplied official specifications for PM50CSE060.
Reverse recovery behavior in a freewheel path can influence current commutation, ringing, and electromagnetic disturbance. The softness factor commonly discussed for diode recovery is not provided in the supplied official data for this model, so it should not be assumed. If interference appears after module replacement, inspect the original gate drive, busbar arrangement, snubber network, shielding continuity, and measurement setup before changing component values. Mitsubishi Electric’s Power Semiconductors and High Power Modules resources provide manufacturer level context for power semiconductor technologies and should be used alongside the applicable module documentation.
Assembly Integrity & Layout Architecture: Implementing Transient Thermal Impedance for PM50CSE060
After confirming the electrical identity of PM50CSE060, inspect the thermal path from the IPM base to the heatsink before applying power. A module can pass a low energy static check yet operate poorly when repetitive current pulses produce junction temperature excursions. Transient thermal impedance describes how the temperature response changes with pulse duration and repetition. The exact transient thermal network, junction limit, and thermal impedance values must be taken from the applicable Mitsubishi Electric documentation; they are not contained in the supplied official parameter set.
Engineering Recommendation: assess temperature rise using the actual load profile, switching behavior, cooling arrangement, mounting condition, and ambient conditions of the repaired equipment. For pulsed robotic joint motion, an average current reading can hide short demand peaks. Capture phase current and operating timing during a representative motion cycle, then relate the measured duty pattern to the thermal data specified for the original module. This gives the system engineer a more useful basis for judging thermal margin than a single steady state current observation.
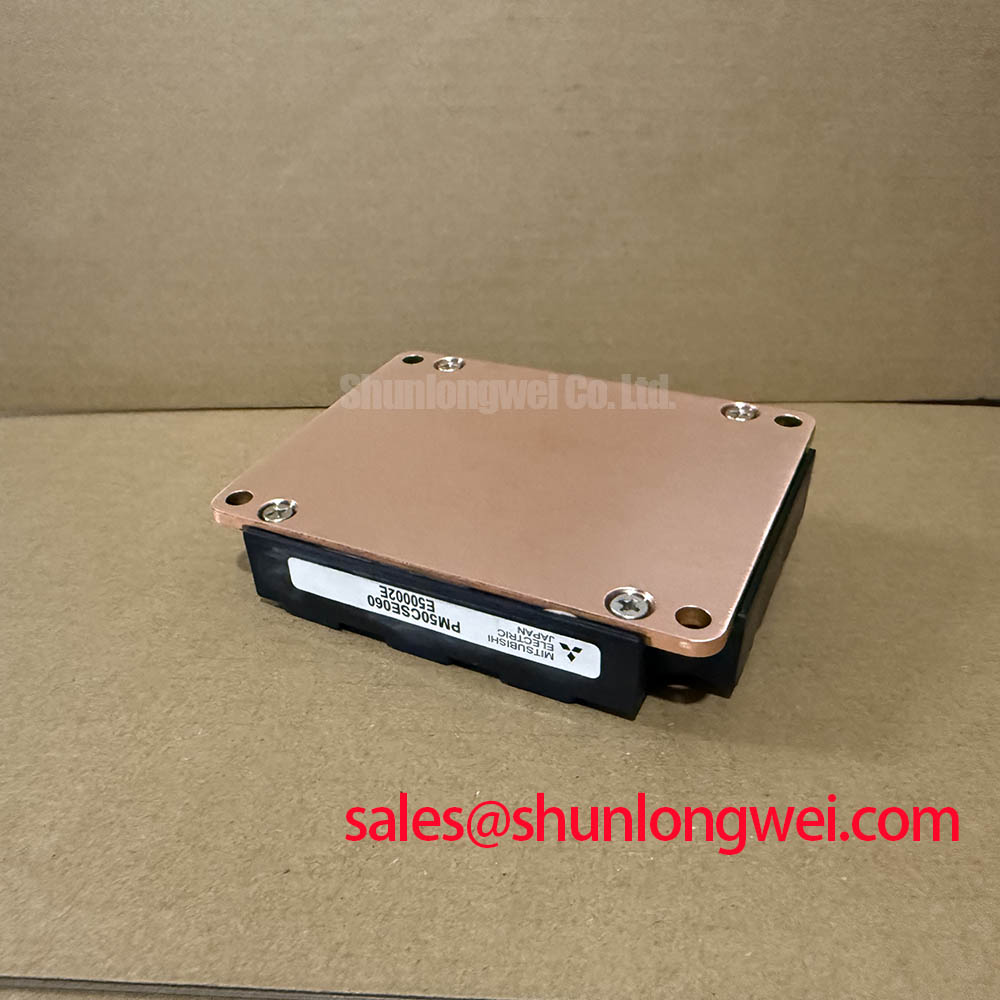
The heatsink itself deserves the same attention as the module. Check for flatness issues, embedded debris, corrosion, blocked airflow, fan degradation, and uneven contact marks. A polished looking surface is not automatically a good thermal interface if it carries hardened compound or has local distortion. Clean according to the equipment service process and avoid scraping the module base or heatsink with tools that can leave raised damage around the contact area.
When a drive is used in a light automation cell, a multi joint robotic axis, or another intermittent motion system, evaluate it as a possible application rather than an assumed design intent. Motion frequency, payload, acceleration limits, cabinet airflow, and the adjacent power stages determine the actual thermal loading. For broader maintenance reference on thermal interfaces and cooling architecture, see The Advanced Thermal Management Revolution.
Where a repair review identifies a need for a different current class or a different package arrangement, a comparison should start with voltage rating, current requirement, mechanical envelope, terminal map, control interface, and thermal design. The CM300DXDX1-24A is a separate module for objective specification comparison. Its presence in a review does not establish electrical, mechanical, or control compatibility with PM50CSE060.
PM50CSE060 Circuit Protection & Reliability: Calibrating Baseplate Convexity Compensation and Screw Mounting
Place the module on the cleaned heatsink without compound first and observe whether it sits naturally on the intended mounting plane. Uneven seating, a visibly distorted heatsink surface, or damage around mounting locations can prevent uniform pressure after fastening. Thermal compound is intended to fill microscopic surface irregularities, not compensate for major mechanical distortion. The applicable Mitsubishi Electric mounting instructions should govern the final installation procedure for PM50CSE060.
Design Consideration: apply a thin, uniform thermal interface layer only after the mating surfaces have been cleaned and assessed. Excess compound can increase thermal path thickness and migrate toward terminals, while insufficient coverage can leave dry regions. The required material, application method, and thickness are determined by the module documentation, heatsink finish, service procedure, and selected thermal interface product. Avoid treating a general compound thickness range as an official PM50CSE060 requirement.
Fasten the module in a balanced sequence so clamping load is introduced progressively across the baseplate. Tightening one location fully before engaging the others can tilt the module or create uneven compound distribution. Torque must follow the specified screw type, module documentation, and equipment service information. ⚠️ Field Alert: Disconnect and verify discharge of the DC link before touching module terminals or removing power cables.
Once installed, inspect power terminal joints for correct engagement, appropriate conductor support, and clearance from adjacent metalwork. Do not use the module terminals as structural anchors for heavy cables. Cable strain, loose hardware, and altered busbar alignment can produce contact resistance, mechanical stress, and switching loop changes that are not visible in a bench resistance reading.
Before returning the equipment to normal duty, begin with the original control configuration and observe startup behavior, fault indication, phase current balance, DC link response, and heatsink temperature trend under controlled conditions. Mitsubishi Electric’s Global Semiconductor Device Technologies page provides additional manufacturer context, while the original machine documentation remains the required source for system commissioning limits and protective settings.