Content last revised on November 14, 2026
SP14N01L6ALCA Display Identification and Initial Fault Checks
Disconnect power from the HMI before reseating the display cable, then inspect the connector latch and cable seating when a blank screen or missing characters interrupt operation. On a SP14N01L6ALCA, distinguish an unreadable image from a loss of illumination before replacing the panel: the controller, contrast circuit, cable, and illumination supply belong to different diagnostic paths.
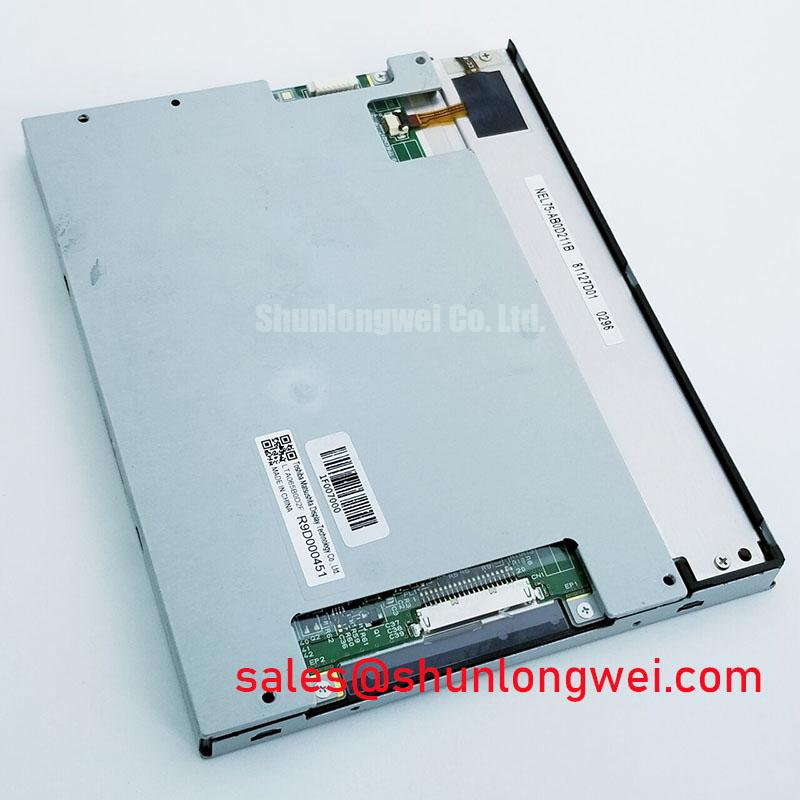
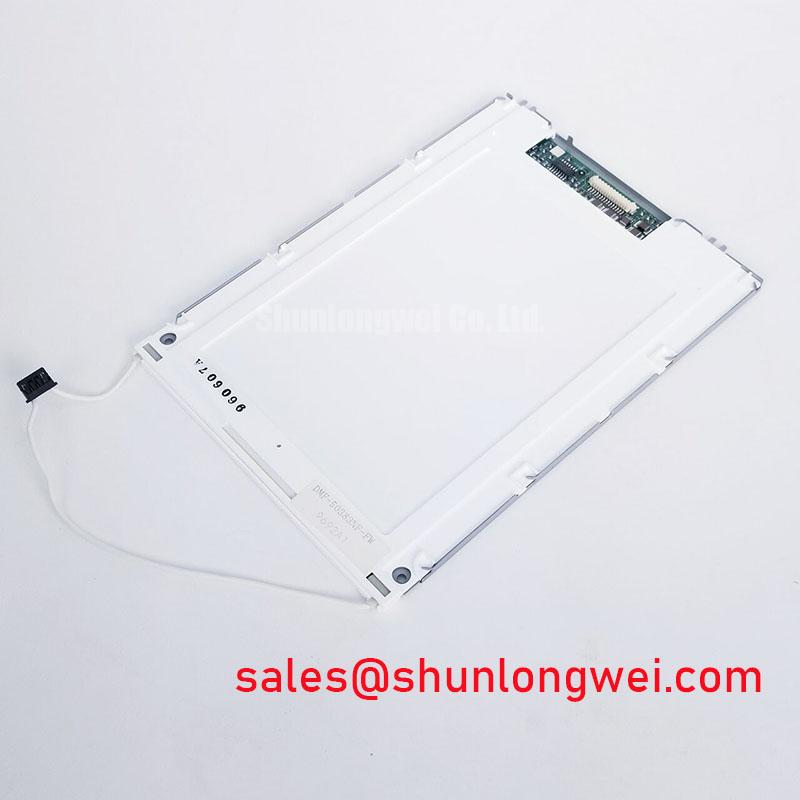
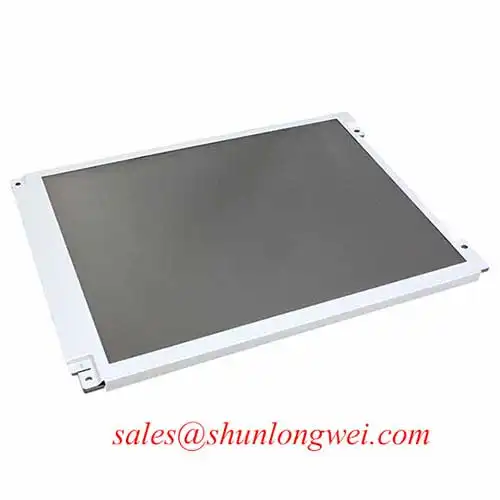
The product specifications identify the Manufacturer: KOE / Hitachi, Part Number: SP14N01L6ALCA, Diagonal Size: 5.1 inch, Resolution: 240 x 128, and Interface: Industrial Standard Interface. The specified construction is a FSTN / STN Monochrome Passive Matrix LCD Panel, with Brightness / Luminance: 170 cd/m². These baseline specifications describe the display; the interface description alone does not establish its connector pinout or controller compatibility.
For replacement assessment, keep the panel identification, host-board revision, cable orientation, and connector photographs together. Record whether the fault appears immediately after startup, after warming, or only when the enclosure is secured. That distinction helps separate an electrical disturbance from a mechanical loading problem without repeatedly disturbing the display assembly.
Parallel Digital Signal Reflections Mitigation via Series Damping Termination Resistors
Compare the host schematic with the display connector assignment before probing clock or synchronization signals. Design Consideration: a passive-matrix display interface must be evaluated through its actual signal definitions, not through the phrase “Industrial Standard Interface.” Where the equipment documentation identifies CP dot clock, LP line pulse, and FLM frame synchronization, capture those signals at the receiving connector alongside the associated data lines.
Use the documented bus width and sampling edge when interpreting the capture. Clock activity alone does not demonstrate that image data reaches the display correctly. Check whether data remains stable across the receiving edge, whether synchronization repeats consistently, and whether transitions contain ringing that crosses the input threshold more than once. Compare a failing capture with a working assembly under the same image pattern and cable arrangement.
Engineering Recommendation: consider source-series damping only when measurements show a signal-integrity problem. A resistor near the transmitting output can reduce reflections by changing the source impedance, but its value depends on driver characteristics, interconnect impedance, loading, and timing margin. Select and validate the termination through measurements at the display end; excessive damping can slow an edge enough to create a different timing fault.
Power sequencing deserves a separate capture. Observe the logic supply, display-bias enable, controller reset, and interface activity during startup and shutdown. If the host documentation identifies V_DD and V_ee, compare their sequence with the prescribed timing rather than assuming that rail names establish the required order. An invalid startup state, driver latch-up, and sustained DC imbalance across the liquid crystal are different mechanisms and should not be treated as interchangeable diagnoses.
The DisplayPort High Bit Rate (HBR) Packetized Protocol illustrates a different interface architecture: packetized display transport does not establish compatibility with a legacy panel connection. A connector adapter alone cannot supply missing timing conversion, controller functions, or bias generation. Keep any proposed interface conversion tied to the actual host and panel electrical requirements.
Field Alert: Disconnect equipment power and allow the display supply circuits to discharge before inserting or removing the panel cable.
Contrast Ratio Potentiometer Calibration and Automated Thermistor Feedback Regulation
Mark the original contrast-adjustment position before turning a potentiometer, then observe foreground and background together while displaying a repeatable test image. Design Consideration: contrast adjustment should establish readable character separation, not simply the darkest possible background. Excessive adjustment can conceal whether the underlying issue is incorrect bias, unstable supply regulation, or temperature-dependent optical response.
Trace the adjustment circuit to determine whether the potentiometer sets a bias generator, a reference input, or another host-controlled function. Measure the identified bias rail relative to its specified reference and correlate ripple with visible modulation. Probe placement and grounding matter: a noisy measurement loop can make a stable rail appear defective. Compare startup, steady operation, and the point at which contrast begins to change.
If the host contains thermistor feedback, check sensor location, connection integrity, and the control circuit’s response as the equipment temperature changes. Engineering Recommendation: validate compensation against the complete display assembly rather than adjusting it to correct a single room-temperature observation. A displaced sensor or unsuitable compensation curve can cause the controller to move contrast in the wrong direction.
Cold conditions can slow liquid-crystal response, while elevated temperature can alter contrast and accelerate degradation in display materials generally. Those mechanisms do not establish a temperature rating or a particular polarizer composition for this model. When assessing readability, compare the same image at the intended viewing angle and ambient lighting after the assembly reaches a stable temperature.
For long-lived static HMI pages, an application-level screen change or idle display policy can help limit prolonged unchanged patterns where operational requirements permit. Treat this as a Design Consideration, not an assurance against image retention. Investigate persistent outlines with changing test content and stable bias conditions before attributing them to permanent panel damage.
A comparison with LMG6911RPBC-00T should begin with documented compatibility rather than visual resemblance. The following comparison separates established SP14N01L6ALCA baseline data from the evidence needed to assess another panel.
| Selection criterion | SP14N01L6ALCA | LMG6911RPBC-00T assessment |
|---|---|---|
| Manufacturer | KOE / Hitachi | Confirm manufacturer and complete part designation |
| Diagonal Size | 5.1 inch | Compare active area and enclosure window |
| Resolution | 240 x 128 | Confirm pixel organization and host mapping |
| Interface | Industrial Standard Interface | Consult datasheets for pinout, levels, and timing |
| Panel construction | FSTN / STN monochrome passive matrix | Compare optical mode and drive requirements |
| Luminance | 170 cd/m² | Compare documented optical test conditions |
| Replacement acceptance | Match the original equipment configuration | Verify mechanical, electrical, and optical compatibility |
A high-voltage substation protection terminal or SCADA dispatch console is one potential compatibility assessment, not a declared application approval. For such equipment, designers should verify alarm readability, viewing geometry, host timing, and enclosure integration before accepting a replacement.
Bezel Mechanical Frame Clamp Uniformity & Uniform Gasket Pressure Distribution
Check whether missing rows, edge shadows, or uneven contrast change when the enclosure fasteners are released and the assembly returns to its intended mounting condition. Design Consideration: that observation can help identify sensitivity to mounting stress, but it does not prove a damaged internal connection. Keep electrical conditions unchanged during the comparison so that a cable movement is not mistaken for a pressure effect.
Inspect the bezel seating surfaces, mounting supports, gasket position, and cable exit path. A trapped cable, displaced seal, or uneven support can transfer enclosure loads into the panel frame. Restore the specified support arrangement and fastening procedure rather than increasing clamp force until the symptom disappears. No generic gasket-pressure target establishes an acceptable load for the SP14N01L6ALCA assembly.
Do not open the panel to adjust an assumed elastomeric zebra-strip connection. Internal interconnect construction is not established by the baseline specifications, and external clamping is not a controlled repair for an internal contact problem. Concentrate service work on accessible connectors, mounting alignment, and the equipment manufacturer’s replaceable assemblies.
Where the installed harness includes a flexible section, inspect its existing bend path near the connector and enclosure opening. Engineering Recommendation: preserve the specified routing, provide appropriate strain relief, and prevent the enclosure from repeatedly flexing the cable during normal operation. Cable bend limits and connector mating endurance belong to the actual cable and connector specifications; they cannot be inferred from the display model number.
Temperature changes and vibration can expose a marginal latch or an overconstrained mounting arrangement. Compare the fault with the equipment stationary and with its normal operating disturbances, using an approved test procedure. Avoid pressing the glass or twisting the frame to provoke a response. Record the affected image region and connector condition so that subsequent checks remain repeatable.
The Marine LCDs Technical Reference provides broader environmental integration context when moisture, contamination, or enclosure exposure warrants investigation. It is not a qualification certificate for this panel. Keep any environmental acceptance criteria tied to the complete equipment specification and its actual installation conditions.
Cold-Cathode Fluorescent Lamp High-Voltage Strike Waveform & Open-Lamp Trip Threshold Tuning
Separate illumination failure from image-generation failure before testing the backlight supply: inspect the screen under suitable external illumination while the host displays known changing content. Design Consideration: a visible but unlit image directs attention toward the illumination path, whereas no visible image still requires checks of contrast, interface activity, and controller operation. Neither observation alone identifies the failed component.
The specified luminance of 170 cd/m² does not identify the installed backlight technology. CCFL strike-waveform testing is applicable only when the equipment’s illumination assembly is documented as CCFL-based. Establish that identity from its service information and driver markings before selecting instruments or interpreting protection behavior.
For a documented CCFL assembly, use appropriately rated high-voltage measurement equipment and the driver manufacturer’s test method. Observe enable activity, input-supply behavior, ignition attempts, and protection shutdown together. A brief flash followed by darkness can arise from several conditions, including lamp connection problems, supply instability, or a protection response; the waveform and service procedure should determine the next test.
Engineering Recommendation: retain the specified open-lamp protection settings during diagnosis. Changing a trip threshold to keep illumination running can obscure the original fault and invalidate the driver’s intended protective behavior. Strike voltage, running current, clearance requirements, and protection timing must come from the identified lamp-and-driver combination, not from a generic CCFL range.
At the assembly level, distinguish the host controller, panel interface, bias circuit, and illumination driver on the wiring diagram. The related SX19V007-Z2A display can be considered in a separate display-system comparison; it should not be treated as a backlight driver or an electrically compatible companion to SP14N01L6ALCA without supporting interface documentation.
After servicing the illumination path, repeat startup from the equipment’s normal off state, check readable content across the screen, and verify that closing the enclosure does not disturb the cable or recreate uneven shading. Record the observed startup behavior and the replaced assembly identification for the next maintenance intervention.