



Content last revised on September 10, 2026
2A75HB12C1U Product Identification and Installation Checks
Before installing the 2A75HB12C1U, isolate the DC link, inspect the Power Module housing and terminals for mechanical damage, and verify that the equipment nameplate and schematic match the required 1200.0 V voltage class before reconnecting any gate-drive or power conductors.
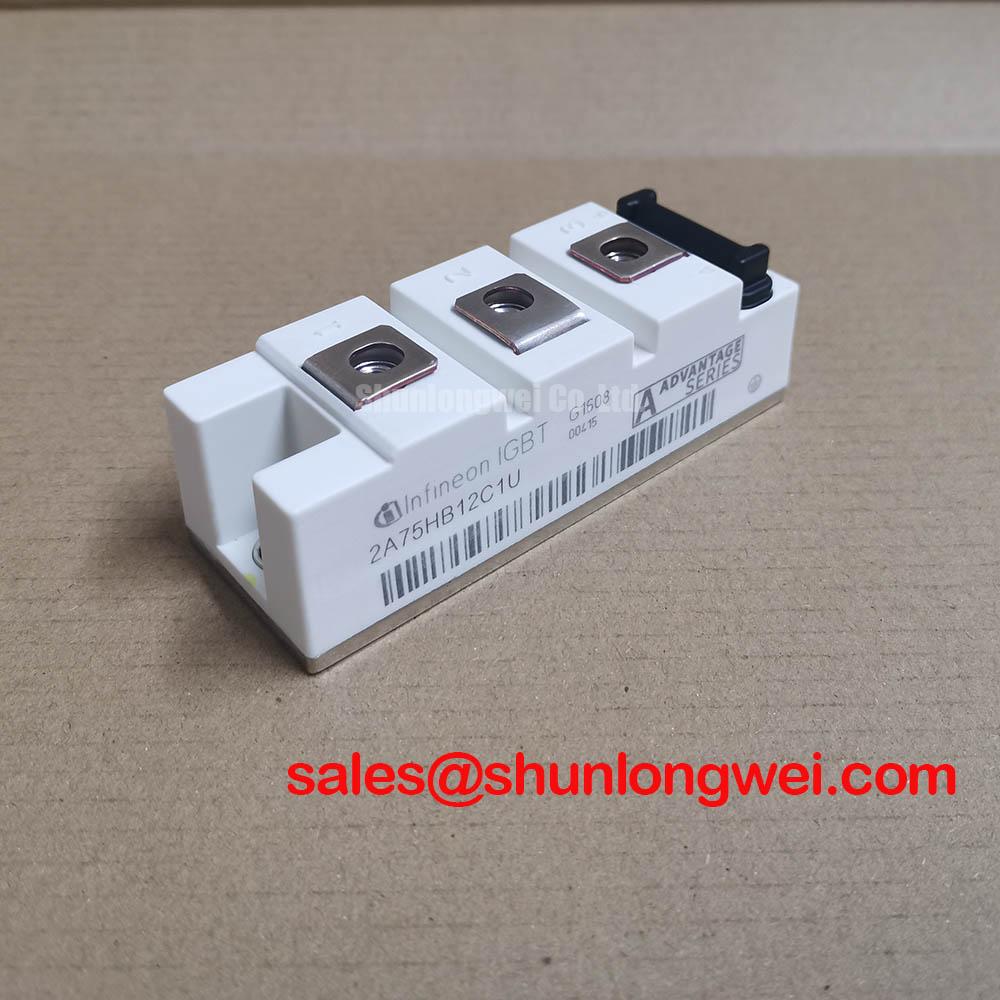
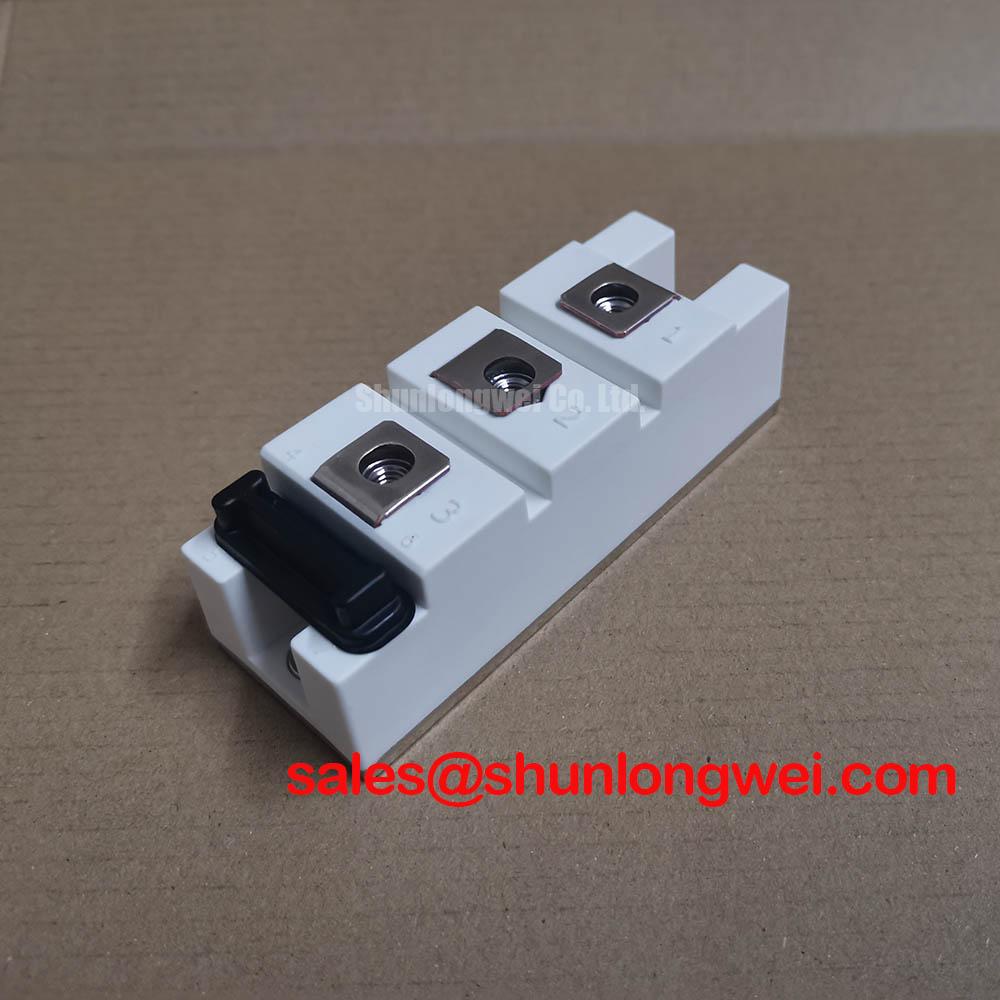
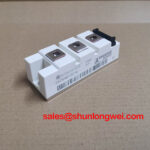
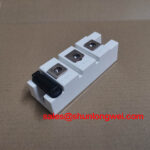
The Infineon 2A75HB12C1U is a 75.0 A, 1200.0 V Power Module. These ratings are Official Datasheet Specifications and define the electrical identity of the module for service evaluation, repair planning, and controlled replacement assessment. The supplied specification identifies the package as a Power Module; installers should confirm terminal designation, internal circuit topology, mechanical footprint, and insulation requirements against the original equipment documentation before installation.
| Parameter | Specification | Classification |
|---|---|---|
| Model | 2A75HB12C1U | Official Product Identification |
| Manufacturer | Infineon | Official Product Identification |
| Rated Voltage | 1200.0 V | Official Specification |
| Rated Current | 75.0 A | Official Specification |
| Package | Power Module | Official Specification |
For electric material handling and forklift low-voltage traction equipment, the module rating alone does not establish direct interchangeability. The maintenance team should compare the original module’s terminal map, driver interface, cooling arrangement, current-sense path, protection thresholds, and inverter switching behavior. A power module architecture reference can help technicians distinguish package-level power assemblies from the surrounding gate-drive, sensing, DC-link, and motor-control circuits that determine field behavior.
Assembly Integrity & Layout Architecture: Suppressing Cres-Induced Gate-Voltage Spikes in the 2A75HB12C1U
During inverter repair, begin by tracing the gate and emitter return paths from the driver board to the installed 2A75HB12C1U. A switching event on one device can capacitively couple into an adjacent gate circuit through the module and surrounding layout. This coupling can become significant when a high-voltage power loop changes state rapidly while the opposite switch is intended to remain off. The result may be an unwanted gate-voltage excursion, irregular current transfer, or a protection event that appears only under loaded acceleration or regenerative braking.
Design Consideration: keep the gate-drive loop physically compact, ensure the intended gate return is not shared with a high-current power return, and inspect every driver connector and crimp for increased contact resistance. A low-impedance active Miller-clamp function, where supported by the existing driver architecture, can hold the inactive gate closer to its emitter reference during high switching transients. Any negative gate-bias arrangement must remain consistent with the gate-driver design, original inverter documentation, device limits, and measured switching behavior. It should not be added as a generic repair modification.
When troubleshooting intermittent inverter faults, use an isolated measurement method suitable for the voltage environment and compare gate-emitter waveforms with a known-good phase or verified signal path. Observe whether the intended off-state gate waveform remains controlled during the opposite switch transition. If ringing, delayed settling, or an unexpected positive excursion is present, review gate-resistor condition, driver output impedance, connector seating, routing, and the proximity of gate wiring to the DC-link and phase conductors. The system engineer should verify peak margins against the DC-link voltage during switching tests rather than relying on a bench observation at no load.
Clearance and creepage around the module terminals are assembly-level requirements, not published characteristics of the supplied model data. Maintain the equipment manufacturer’s insulation spacing, keep conductive debris away from energized terminals, and replace damaged barriers or covers before commissioning. In traction controllers, contaminated air paths and conductive dust can change surface conditions around terminals over time, particularly where condensation occurs after a cold vehicle enters a warmer service area.
⚠️ Maintenance Note: Periodically monitor terminal contact temperature rise and verify that cooling-air passages remain clear before returning a traction inverter to regular duty.
Where a service review requires a same-voltage-class reference for comparison, the DWM100X2-12U can be evaluated against the original circuit documentation, but its electrical topology, mechanical dimensions, pin arrangement, thermal interface, and driver compatibility must be confirmed independently.
Transient Dynamics & Electrical Design: High-Altitude Cosmic-Ray-Induced SEB Failure in the 2A75HB12C1U
The supplied official information for the 2A75HB12C1U confirms its 1200.0 V and 75.0 A ratings but does not provide a model-specific cosmic-ray, terrestrial-neutron, Single Event Burnout, altitude derating, or FIT-rate specification. It would therefore be inappropriate to assign a predicted failure rate, service life, DC-bus derating percentage, or operation limit at elevations above 2000 m for this module.
Design Consideration: engineers assessing equipment intended for elevated locations should treat semiconductor voltage stress, cooling capability, enclosure pressure effects, contamination control, and protection response as a system-level validation task. The operating DC bus, switching transient magnitude, motor-cable reflection behavior, ambient temperature, and cooling performance all need to be measured in the actual inverter assembly. A 1200.0 V device rating is an Official Specification, but the permissible system transient envelope must be established by the complete converter design and its verified protective functions.
Fast semiconductor fuse coordination also requires system data that are not included in the supplied module parameters. Fuse clearing energy, prospective short-circuit current, cable inductance, contactor behavior, and the inverter’s fault-detection timing affect whether a fault is isolated before unacceptable energy reaches the power stage. Maintenance personnel should confirm the original fuse type and its published time-current and I²t curves, then compare these with the equipment maker’s fault-coordination documentation. Do not substitute a fuse based only on its continuous current label.
In forklift traction systems, a DC-link event may be associated with connector arcing, damaged capacitor connections, phase-cable insulation degradation, controller faults, or gate-drive malfunction. These possibilities require separate inspection. Check the DC-link hardware for looseness, inspect busbar insulation, review fault logs where available, and verify that the protection circuitry responds consistently under controlled test conditions. Long motor cables can also produce reflected voltage at the motor end; cable termination, filtering, and motor insulation suitability remain system-determined matters.
Current feedback should be assessed as part of this diagnostic chain. A sensor path affected by poor connector integrity, grounding disturbance, or calibration drift can alter control and protection behavior without proving an internal module failure. For background on magnetic sensing principles used in industrial current measurement, see this reference on GMR and related magnetoresistive sensing. The installed controller documentation remains the authority for sensor type, scaling, and validation procedure.
2A75HB12C1U Operational Boundaries: Evaluating Thermal Interface Material Thickness and Uniformity Limits
Thermal installation begins with a clean heatsink surface and a flat, undamaged module mounting face. The official information supplied for the 2A75HB12C1U identifies a Power Module package but does not state mounting-hole size, specified mounting torque, thermal resistance, baseplate flatness, allowable interface-material thickness, or approved thermal compound. These values should be taken from the original equipment documentation or the applicable manufacturer documentation before hardware is tightened.
Design Consideration: apply thermal interface material as a controlled, continuous layer intended to fill microscopic surface irregularities without creating excessive thickness or trapping air pockets. A thick or uneven interface can raise thermal resistance, while incomplete coverage may create localized temperature concentration. The correct material, application method, and thickness target depend on the heatsink condition, mounting geometry, compound specification, and the maintenance procedure approved for the inverter.
Use a gradual cross-pattern tightening sequence where the mechanical design requires multiple mounting points. This approach helps seat the module evenly against the heatsink and reduces the chance that one edge is clamped before the opposite side contacts properly. Final torque must follow the equipment documentation rather than a generic value, because thread size, fastener grade, washer stack, and module construction have not been provided in the official parameter set.
After a thermal service event, inspect the fan path, duct seals, heat-exchanger surfaces, and cabinet filters. In warehouse vehicles and electric material handling equipment, dust accumulation can reduce airflow while repeated temperature cycling can affect the condition of thermal interface materials and terminal joints. Check for moisture ingress or condensation around the controller enclosure, especially after washdown exposure or transitions between cold storage and warmer charging areas. Any evidence of corrosion, residue, or blocked airflow should be addressed before thermal performance is judged from electrical symptoms.
Thermal recovery following overload or a switching fault cannot be inferred from the 75.0 A rating alone. Allow the maintenance procedure to define safe cooldown, insulation checks, and recommissioning steps. Where temperature monitoring exists, compare trend data before and after service under a repeatable duty cycle. A higher observed temperature may reflect altered airflow, a poor interface, current imbalance, increased switching loss, or a measurement issue; verify each condition methodically.
For broader discussion of efficiency and switching-loss context in industrial drive systems, maintenance and design teams can consult Unlocking Efficiency in Industrial Drives. That technical resource provides context only and does not replace the model-specific integration checks required for the Infineon module.
Transient Dynamics & Electrical Design: PCB Symmetry Considerations for the 2A75HB12C1U
Before modifying a driver board or replacing wiring, verify the actual internal circuit configuration and terminal functions of the installed 2A75HB12C1U from the original inverter documentation. The supplied official parameters do not define an internal dual-IGBT arrangement, an auxiliary emitter terminal, or Kelvin-emitter availability. These features must not be assumed from package appearance or model numbering.
Where the existing module and driver design provide separate control-reference and high-current return paths, Design Consideration is to preserve that separation throughout the replacement work. A gate driver measures gate voltage relative to its intended emitter reference. If that reference is disturbed by the voltage developed along a shared high-current return path, the effective gate signal can change during switching. This may contribute to switching asymmetry, false protection triggering, or oscillatory behavior that is absent during static resistance checks.
Inspect PCB copper damage, cracked solder joints, lifted pads, gate-drive connector strain, and alterations made during prior repair. Keep phase-current paths, DC-link conductors, and sensitive gate-drive conductors arranged according to the original layout wherever possible. Minimize parasitic loop inductance to suppress turn-off inductive overshoots, then verify the result with suitable measurements under controlled switching conditions. The final routing, damping, and protection settings must be determined by the complete inverter design and validated against operating waveforms.
For a controller showing unequal phase heating or inconsistent current response, compare the command signal, gate-drive waveform, current feedback, motor-cable condition, and heatsink contact across all phases. Avoid assigning the symptom to the module alone without corroborating evidence. Confirm the inverter’s dead-time behavior and fault interlock response through the original service procedure, then inspect whether gate-drive paths remain electrically isolated from high-current switching returns.
In equipment maintenance planning, record the module model, the confirmed 1200.0 V and 75.0 A ratings, the measured installation condition, and the post-service waveform observations. This creates a useful baseline for later preventive maintenance without claiming unsupported lifetime or reliability figures.