

Content last revised on October 8, 2026
Eye-Diagram Voltage Margin and Noise Verification in High-Vibration Bays
Start signal inspection with the display connected to its intended controller through the correct harness. Record whether interference appears during vehicle acceleration, steering actuation, charging, or nearby drive operation. Pixel instability and horizontal noise bands can have several explanations, including disturbed power rails, connector movement, incorrect timing, or signal degradation. Their appearance alone does not establish a defective panel.
Confirm the electrical interface before selecting the measurement method. If the original documentation identifies a differential interface, inspect the received waveform with suitable differential probing and compare its eye opening with the documented receiver requirements. If the interface is parallel, evaluate the relevant data and clock relationships instead. These are distinct measurement paths; neither LVDS nor TTL should be assigned to the LM12S389 without an authoritative pinout.
As a Design Consideration, cable shielding should provide a deliberate return path rather than depend on incidental contact with the enclosure. Inspect shield terminations, connector retention, and the separation between display wiring and motor power conductors. Where the equipment uses a circumferential shield termination, check its continuity through the installed connector assembly. Do not connect an unidentified conductor to chassis merely because it resembles a shield drain.
A common-mode suppression component can be evaluated when measurements indicate interference carried along the cable, but its suitability depends on the actual interface and disturbance spectrum. Compare the signal before and after any proposed change. Suppression that reduces visible noise while degrading clock edges is not a verified improvement. Any modification also requires equipment-level EMC evaluation; the display module alone does not establish compliance for the vehicle terminal.
During vibration-related troubleshooting, observe the picture while monitoring connector retention and harness movement under a controlled equipment test. Keep hands clear of energized machinery and avoid flexing the panel’s bonded interconnects. A fault that follows harness movement warrants inspection of the connector and cable path, but it does not uniquely identify a bond failure inside the module.
Cold operation introduces a separate optical question. As a general liquid-crystal Design Consideration, lower temperature can slow transitions and produce visible trailing even when the electrical signal remains acceptable. Compare static patterns with moving graphics at temperatures permitted by the documented operating limits. Record panel temperature rather than assuming it equals the surrounding air temperature. Any heater arrangement must be justified by the enclosure design and original environmental limits, not treated as a standard LM12S389 accessory.
💡 Bench Tip: Disconnect equipment power before reseating the display cable, use an appropriate grounded ESD workstation, and support the flexible interconnect without creating a sharp crease.
High-Humidity Storage Margins and Delamination Prevention
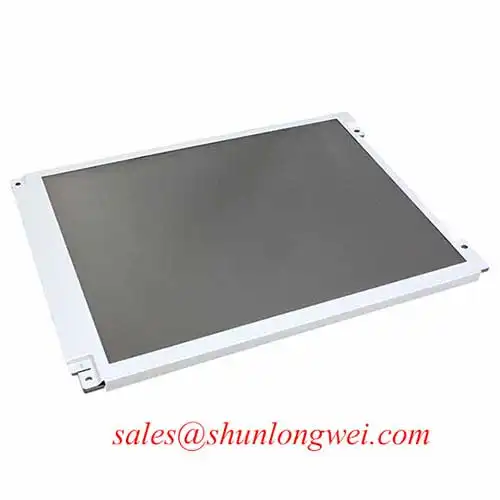
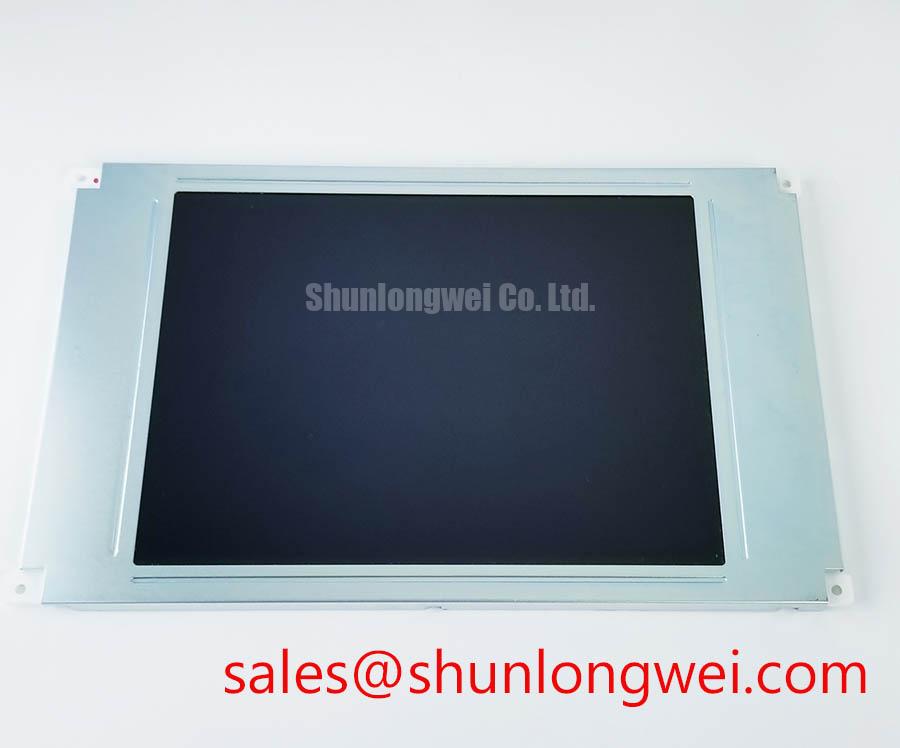
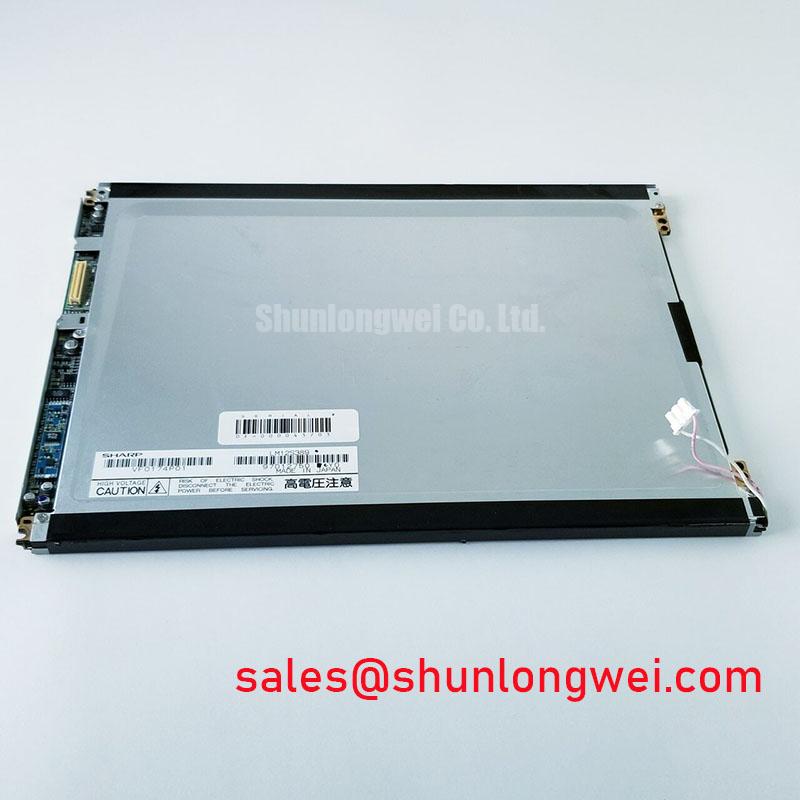
Inspect an incoming LM12S389 under diffuse illumination before applying power. Look for edge lifting, clouding, staining, damaged connector contacts, and distortion around the frame. Record the location of each observation so that subsequent optical testing can distinguish a persistent defect from reflections, surface contamination, or enclosure pressure. An external inspection cannot determine the condition of an internal adhesive bond by itself.
Humidity exposure must remain within the manufacturer’s documented limits. A combined heat-and-humidity condition used elsewhere in industrial qualification is not automatically an approved storage or operating condition for this display. Confirm whether the equipment specification permits condensation, requires a sealed enclosure, or relies on ventilation. Those enclosure requirements are separate from the panel’s own environmental ratings.
As a Design Consideration, allow a cold assembly to acclimatize under controlled conditions before energizing it where condensation could occur. Inspect connector recesses and the enclosure interior for moisture. Cleaning methods must be compatible with the documented surface materials; an unidentified solvent can damage an optical surface even when it removes a visible mark. Do not assume that the display perimeter provides a moisture barrier suitable for an exposed vehicle installation.
Optical screening should follow the documented display capabilities. Where supported by the controller and panel, use full-screen primary-color patterns, white, black, and intermediate gray fields. Examine fixed bright or dark points, persistent lines, and regional nonuniformity. Maintain a consistent viewing position and ambient illumination between tests. Pixel acceptance must follow the applicable manufacturer or purchase specification rather than an invented universal threshold.
A persistent vertical line may justify investigation of the signal path and panel interconnects, but it does not prove a crack in a conductive adhesive joint. Connector faults, controller output errors, and panel-level defects can produce overlapping symptoms. Compare with a verified controller and compatible harness where available. Avoid pressing on bonded edges to make a line disappear: that changes the mechanical condition and can complicate the diagnosis.
Temperature-dependent electrical checks should use the same discipline. Compare clock stability, data timing, and power sequencing against the original requirements across the equipment’s approved test range. Do not assign a generic transmitter jitter allowance or data hold time to this model. A display that develops trailing without data corruption needs a different investigation from one that loses synchronization.
For broader enclosure and environmental planning, Industrial Display & HMI Solutions provides related integration context. Apply that guidance alongside the LM12S389 documentation and the vehicle terminal’s qualification requirements, rather than using general environmental advice as a substitute for model-specific limits.
Chassis Fastener Loading and Optical Mura Inspection
Measure the available mounting envelope and compare it with the original mechanical drawing before tightening the display into the console. Check bracket contact points, connector clearance, bezel overlap, and the space required for the harness. The front enclosure should not impose unintended pressure on the active display area or pull the module out of alignment.
Fastener size and tightening torque must come from the documented mounting arrangement. Neither an M3 thread nor a generic torque range can be assumed for the LM12S389. As a Design Consideration, bring the assembly into position progressively and check for uneven bracket contact. A balanced tightening sequence may help distribute load where the mounting design permits it, but it cannot compensate for an incorrectly dimensioned bracket.
Use a dark field and intermediate gray patterns to compare the optical appearance before mounting and after final assembly. If a localized patch develops only when the bezel is secured, inspect the mechanical load path before attributing it to the panel. Frame distortion, uneven supports, and enclosure contact are possible contributors. This comparison is diagnostic evidence, not proof of a particular internal failure mechanism.
Backlight testing requires the correct documented drive arrangement. Confirm the power connections and control signals before applying an external source. Assess luminance and color uniformity with a consistent measurement geometry and a stable operating condition. Visual comparison can identify areas needing investigation, but it does not replace calibrated measurement where the acceptance specification defines optical limits.
Do not attach a generic backlight lifetime or brightness-retention claim to this module. Such claims require a model-specific source and stated test conditions. For incoming inspection, record observable startup behavior, brightness stability, and regional variation instead. If brightness changes, investigate the supply and control path as well as the display; the symptom does not establish a single cause.
When reviewing controller and power arrangements across a broader display portfolio, the Sharp LM64P10 is a separate display reference, not an established backlight driver or companion component for the LM12S389. Compare each module’s own supply, interface, and illumination requirements before considering any shared system architecture.
Surface Glare and Viewing-Angle Verification for Vehicle Consoles
Evaluate readability with the display installed at the intended operator viewing angle. In an AGV service terminal or forklift telematics console, the enclosure window, overhead lighting, and daylight reflections can affect visibility as much as the displayed image. Check representative alarm text, status icons, and low-contrast screen elements rather than relying only on a bright test pattern.
Anti-glare and anti-reflective treatments are different optical approaches, and neither should be claimed for the LM12S389 without confirmation. Inspect the complete optical stack, including any protective window or touch overlay. A reflection associated with the enclosure window should not be described as a panel coating defect. Cleaning residues and worn external surfaces can also affect the assessment.
Viewing-angle behavior likewise requires documented specifications or controlled measurement. Do not infer a TN, IPS, or MVA architecture from the model reference, or assign a symmetric viewing cone without evidence. Move through the operator’s expected viewing positions and record changes in contrast, grayscale discrimination, and color appearance. Keep the test image and illumination consistent so that different observations remain comparable.
If the equipment includes touch input, evaluate the installed sensor and controller separately from the LCD. Gloved operation and water exposure depend on the touch technology, controller configuration, cover construction, and equipment requirements. They are not established features of the LM12S389. Test representative operator interactions only under conditions approved for the complete terminal, and distinguish touch-input errors from delayed image updates.
For procurement comparison, the LM190E08-TLG6 is another display reference to assess against its own documentation, not a declared same-size or drop-in replacement. Establish compatibility through resolution, active area, mounting dimensions, connector assignment, electrical requirements, and optical behavior. A similar product category does not establish interchangeability.
Complete the integration check by confirming that the chosen controller, harness, enclosure, and optical stack reproduce the documented requirements of the Sharp LM12S389. If a differential interface is confirmed, derive impedance and timing requirements from that interface documentation and verify them on the installed signal path. Resolve any remaining mismatch before powered vehicle trials, particularly when picture stability changes with motor activity or harness movement.