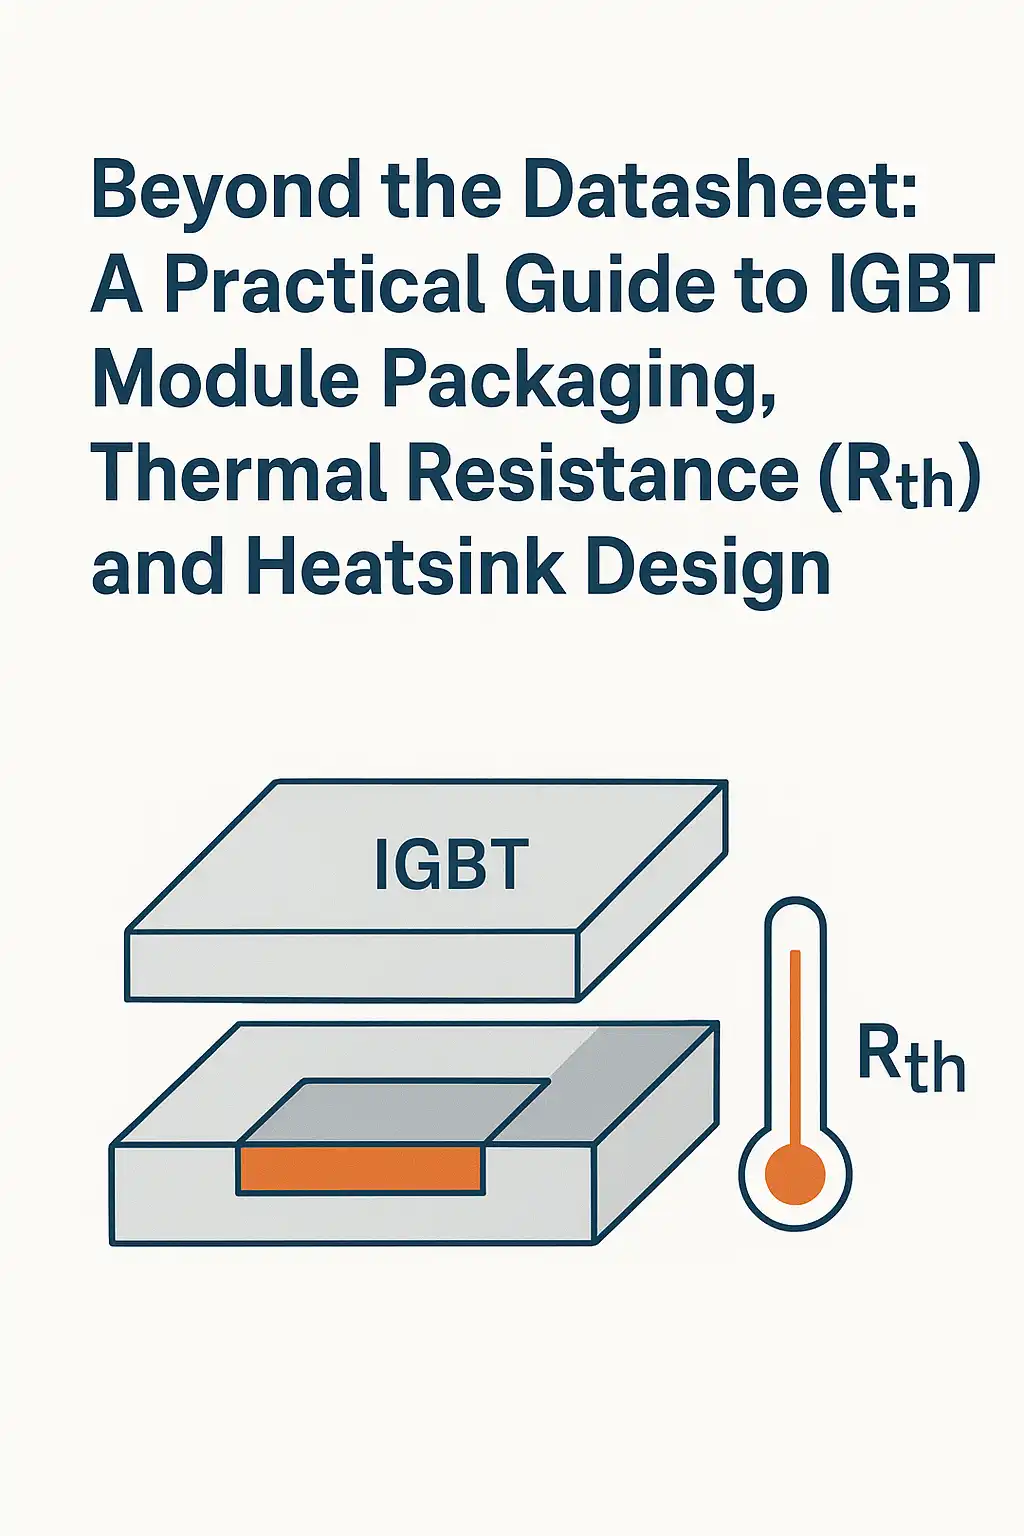
Beyond the Datasheet: A Practical Guide to IGBT Module Packaging, Thermal Resistance (Rth), and Heatsink Design
In high-power electronics, selecting an IGBT module based solely on its voltage and current ratings is a common but critical mistake. While essential, these figures don’t reveal a module’s ability to perform reliably under the immense thermal stress of real-world applications. As industries from industrial automation to renewable energy push for ever-higher power densities, effective thermal management is no longer just a design consideration—it is the cornerstone of system reliability and longevity. An inadequate cooling strategy is a direct path to premature failure, unexpected downtime, and costly redesigns.
This guide provides a practical framework for engineers, moving beyond surface-level datasheet parameters to a deeper understanding of thermal reality. We will deconstruct the critical role of module packaging, demystify the all-important concept of thermal resistance (Rth), and offer a step-by-step process for heatsink selection that ensures your design is both robust and reliable.
Why Thermal Management is the Unsung Hero of Power Density
Every power semiconductor generates heat as an unavoidable byproduct of its operation, primarily from conduction and switching losses. If this heat is not efficiently dissipated, the internal semiconductor junction temperature (Tj) will rise. Exceeding the maximum specified junction temperature (Tj_max), typically 150°C or 175°C, can lead to degraded performance, reduced lifespan, and ultimately, catastrophic failure. Therefore, the goal of thermal design is to ensure that under the worst-case operating conditions, Tj remains safely below Tj_max.
Effective cooling is what unlocks the full potential of an IGBT module. A well-designed thermal system allows the module to operate closer to its rated specifications without compromising reliability, directly enabling higher power density and more compact system designs.
Deconstructing the Thermal Path: From IGBT Junction to Ambient Air
To design an effective cooling solution, one must understand the journey heat takes from its source—the IGBT chip’s junction—to the surrounding environment. This path can be modeled as a series of thermal resistances, each representing an obstacle to heat flow. The total thermal resistance determines the overall temperature rise for a given power dissipation.
The Critical Metric: Junction-to-Case Thermal Resistance (Rth(j-c))
Rth(j-c), or junction-to-case thermal resistance, represents the opposition to heat flow from the semiconductor junction to the module’s outer case or baseplate. This value is an intrinsic property of the module, determined by its internal construction—the die-attach material, the Direct Bonded Copper (DBC) substrate, and the baseplate material. A lower Rth(j-c) indicates a more efficient internal thermal path. This is a critical parameter found in every IGBT datasheet and is the starting point for all thermal calculations.
The Interface Challenge: Case-to-Heatsink Thermal Resistance (Rth(c-s))
Rth(c-s) is the thermal resistance between the module’s case and the heatsink. This is not a property of the module itself but is determined by the quality of the physical interface between the two surfaces. Even seemingly flat surfaces have microscopic imperfections that trap air, a poor thermal conductor. To minimize this resistance, a Thermal Interface Material (TIM), such as thermal grease or a phase-change pad, is applied to fill these air gaps. The final Rth(c-s) value depends on the TIM’s thermal conductivity, its applied thickness, and the mounting pressure.
The Final Hurdle: Heatsink-to-Ambient Thermal Resistance (Rth(s-a))
Rth(s-a) represents the heatsink’s ability to dissipate heat into the surrounding air. This value is determined by the heatsink’s design (material, surface area, fin geometry) and the cooling method (natural convection or forced air). A lower Rth(s-a) means the heatsink can dissipate more heat for a given temperature rise above the ambient air.
Key Takeaways: The total thermal resistance from junction to ambient, Rth(j-a), is the sum of these three components: Rth(j-a) = Rth(j-c) + Rth(c-s) + Rth(s-a). Your primary design task is to select a heatsink and mounting method that makes the total resistance low enough to keep the junction temperature within safe limits.
How Packaging Dictates Thermal Performance: A Tale of Two Modules
An IGBT module’s packaging is far more than just a protective shell; it is a critical component of the thermal management system. The package design directly influences the Rth(j-c) and dictates how the module interacts with a heatsink. Let’s compare two distinct package types to illustrate this point.
Case Study 1: The High-Power Workhorse – CM800HA-66H
The CM800HA-66H is a high-power 3300V/800A module in a standard, large industrial package. This design prioritizes handling immense power and features a large, flat copper baseplate. The primary advantage is a large surface area for heat transfer to a heatsink, essential for dissipating the kilowatts of heat generated at full load. However, its large size requires careful mounting procedures to ensure flatness and uniform pressure, minimizing Rth(c-s). Its thermal performance is heavily reliant on a large, high-performance heatsink, often with forced-air or liquid cooling.
Case Study 2: The Integrated Solution – FP35R12W2T4 PIM
In contrast, the FP35R12W2T4 is a Power Integrated Module (PIM) from Infineon, which combines multiple switches for a three-phase inverter into a single, compact, baseplate-less package. This design is optimized for power density and simplified assembly. Heat is extracted directly from the bottom of the module’s ceramic substrate. While this approach can be highly efficient for its size, the smaller contact area presents a higher thermal flux (heat per unit area), making the quality of the thermal interface and heatsink design critically important. Such packages are often designed for automated assembly and work well with specialized heatsinks.
Comparative Analysis: Key Thermal Differences
| Parameter | CM800HA-66H (Standard Industrial) | FP35R12W2T4 (PIM) |
|---|---|---|
| Primary Design Goal | Maximum power handling, robustness | High power density, integration |
| Baseplate | Large copper baseplate | Baseplate-less (direct substrate cooling) |
| Heat Transfer Area | Very large | Moderate, concentrated |
| Rth(j-c) (Typical) | Very low due to scale and materials | Low for its size, but higher thermal flux |
| Heatsink Requirement | Large, high-performance heatsink (often forced air/liquid) | Optimized heatsink, careful TIM application is critical |
| Mounting Complexity | Requires careful torque control to ensure flatness | Simpler mounting, often with clips or fewer screws |
Key Takeaways: Module selection goes beyond electrical ratings. As this comparison shows, packaging dictates thermal design strategy. A large industrial module like one from Mitsubishi Electric requires a different approach to heatsinking than a compact, integrated PIM.
A Step-by-Step Guide to Practical Heatsink Selection
Selecting the right heatsink is a methodical process, not guesswork. The goal is to calculate the maximum allowable heatsink thermal resistance, Rth(s-a), that will keep the junction temperature below its limit.
Step 1: Calculate Total Power Dissipation (P_total)
First, determine the total heat the IGBT module will generate. This is the sum of conduction losses (while the device is ‘on’) and switching losses (during turn-on and turn-off events).
P_total = P_conduction + P_switching
These values can be calculated based on the application’s current, voltage, duty cycle, and switching frequency, using formulas and characteristic curves provided in the module datasheet.
Step 2: Define Maximum Temperatures
Identify three key temperature values:
- Maximum Junction Temperature (Tj_max): Found in the datasheet (e.g., 150°C or 175°C).
- Maximum Ambient Temperature (Ta_max): The highest expected air temperature inside your enclosure during operation.
- Safety Margin: It is wise engineering practice to design for a junction temperature well below the absolute maximum. A margin of 15-25°C (e.g., designing for Tj = 125°C when Tj_max is 150°C) significantly enhances reliability and lifespan.
Step 3: Calculate the Required Total Thermal Resistance Rth(j-a)
The total allowable temperature rise divided by the total power dissipation gives the maximum total thermal resistance your system can have.
Rth(j-a)_max = (Tj_max – Ta_max) / P_total
Step 4: Calculate the Required Heatsink Thermal Resistance (Rth(s-a))
Now, subtract the known resistances from the total to find the required performance of your heatsink.
Rth(s-a)_required ≤ Rth(j-a)_max – Rth(j-c) – Rth(c-s)
You will find Rth(j-c) in the module datasheet. Rth(c-s) can be estimated based on the TIM manufacturer’s data (typically 0.05 to 0.2 °C/W for a well-mounted module). The result is the maximum thermal resistance your heatsink can have. You must select a heatsink from a supplier catalog with a specified Rth(s-a) value equal to or lower than your calculated requirement.
Pro Tip: The Importance of Derating for Reliability
Derating involves operating a component at levels below its maximum ratings to increase reliability. In thermal design, this means ensuring your calculated Tj under worst-case conditions is significantly lower than the datasheet’s Tj_max. This safety margin accounts for aging of the TIM, dust accumulation on the heatsink, and unexpected variations in ambient temperature or load, ensuring robust performance over the product’s entire life.
Key Takeaways: Heatsink selection is a four-step calculation: determine power loss, define temperature limits, calculate maximum total Rth, and subtract module/interface resistances to find the required heatsink Rth. Always build in a safety margin by derating.
Conclusion: A Holistic Approach to Thermal Design
Moving beyond basic datasheet ratings is essential for robust power electronic design. A successful thermal strategy is not just about selecting a large heatsink; it’s a holistic process that begins with understanding the thermal implications of the IGBT module’s packaging. By carefully analyzing the entire thermal path—from the semiconductor junction to the ambient air—and systematically calculating the required thermal resistances, engineers can make informed decisions. Choosing the right module, like a high-power IGBT Module, and pairing it with a correctly specified heatsink and a properly applied thermal interface material is the key to balancing performance, cost, and the long-term reliability demanded by today’s high-power applications. A comprehensive understanding of voltage, current, and thermal management forms the true foundation of successful power system engineering.
Infographic: Mastering IGBT Thermal Design
- Title: The Engineer’s 4-Step Path to Reliable IGBT Cooling
- Core Concept: A simple, visual guide to calculating heatsink requirements for IGBT modules to ensure system reliability.
- Key Sections & Visuals:
- Point 1: Calculate Power Loss (P_total): A simple formula icon (P_total = P_cond + P_switch) with smaller icons for current (A) and frequency (Hz).
- Point 2: Set Temperature Limits: A thermometer icon showing three levels: Ambient (Ta), Operating Junction (Tj), and Max Junction (Tj_max), with a clear “Safety Margin” indicated between Tj and Tj_max.
- Point 3: Uncover the Thermal Path: A layered diagram showing the IGBT Chip -> TIM -> Baseplate -> TIM -> Heatsink -> Air, with labels Rth(j-c), Rth(c-s), and Rth(s-a) for each interface.
- Point 4: Select Your Heatsink: An equation icon showing Rth(s-a) ≤ (ΔT / P_total) – Rth(j-c) – Rth(c-s), leading to an icon of a heatsink with a checkmark.
- Branding: Include Logo: Shunlongwei Co., Ltd. | Website: https://www.slw-ele.com
Related Arcticles:
-
- https://www.slw-ele.com/resources/a-strategic-guide-to-igbt-module-selection-balancing-voltage-integration-and-power-density
- https://www.slw-ele.com/ipm-vs-discrete-igbt-a-strategic-guide-to-power-stage-design.html
- https://www.slw-ele.com/mastering-igbt-thermal-management-a-guide-to-packaging-rth-and-heatsink-design.html
- https://www.slw-ele.com/mastering-1200v-igbts-in-industrial-inverters-a-deep-dive-into-vcesat-and-eon-eoff-for-optimal-efficiency.html