



Content last revised on June 29, 2026
NL6448BC26-08D | 8.4" VGA Industrial TFT-LCD for Harsh Environments
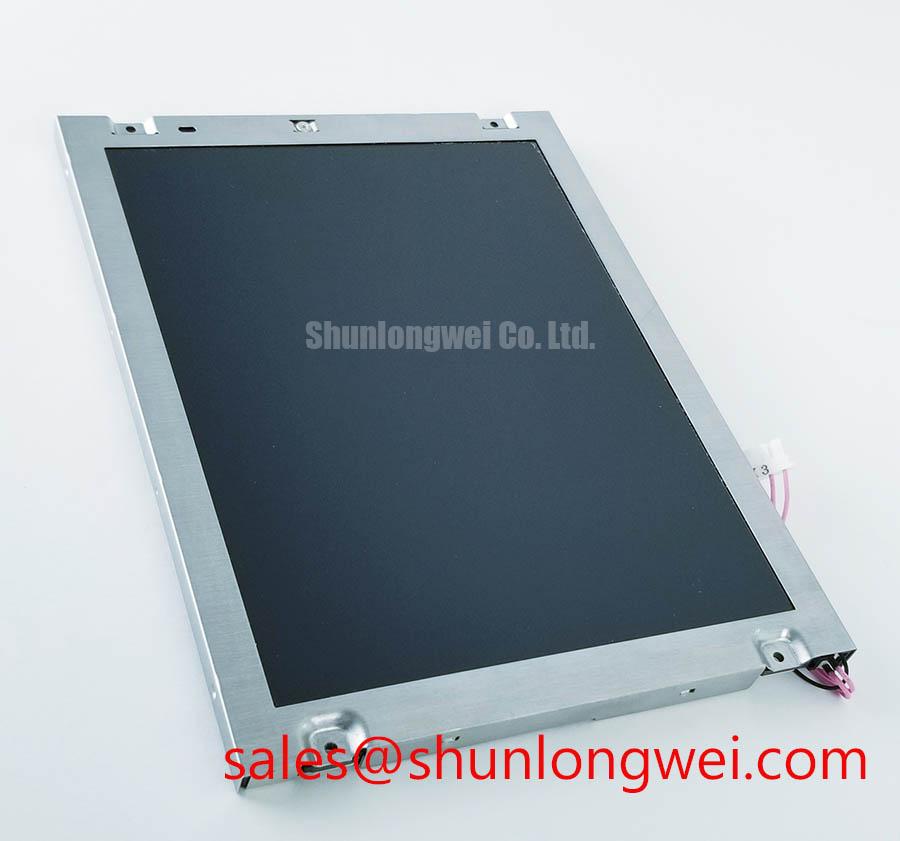
The NL6448BC26-08D is an 8.4-inch VGA industrial TFT-LCD engineered for exceptional operational reliability in thermally demanding environments. This display delivers consistent performance with its key specifications: 8.4" VGA (640x480) | 450 cd/m² | -30 to 80°C Operating Temperature. It provides two core engineering benefits: exceptional thermal resilience and an extended operational lifetime. This module consistently delivers clear optical performance across its extreme temperature range, often eliminating the need for auxiliary thermal management hardware in system designs. For industrial HMIs and vehicle-mounted systems requiring proven reliability in thermally challenging, 24/7 operations, the NL6448BC26-08D is a benchmark for durability.
Application Scenarios & Value
Delivering Operational Uptime in Uncontrolled Environments
The NL6448BC26-08D excels in applications where temperature extremes and long-term reliability are non-negotiable. What is the primary benefit of its pressure-contact design? Enhanced long-term reliability by eliminating solder fatigue. Consider its use in an outdoor ticketing kiosk or the control panel of a forklift operating in both refrigerated storage and on a sun-baked loading dock. The critical engineering challenge here is ensuring the display remains functional and readable without failure, from freezing starts on a winter morning to peak afternoon heat. The NL6448BC26-08D's standout feature, its -30°C to 80°C operating temperature range, directly addresses this. This wide thermal tolerance prevents common issues like slow response times in the cold or display blackouts in high heat, ensuring system uptime and operator effectiveness. This intrinsic robustness can significantly simplify the thermal design of the end product, reducing complexity and bill-of-materials costs. While this model provides a robust VGA solution, for systems requiring higher data density in a similar form factor, the related NL8060bc26-30d offers SVGA resolution.
Key Parameter Overview
Specifications Grouped for System Integration
The technical specifications of the NL6448BC26-08D are tailored for integration into demanding industrial systems. The combination of its optical performance, environmental resilience, and standard interface provides a stable platform for HMI development.
| Optical Characteristics | |
|---|---|
| Screen Size | 8.4 inches |
| Resolution | 640(RGB) x 480 [VGA] |
| Brightness | 450 cd/m² (Typ.) |
| Contrast Ratio | 600:1 (Typ.) |
| Viewing Angle | 80/80/80/60 (Typ.)(CR≥10) |
| Display Colors | 262K (6-bit) |
| Mechanical & Environmental | |
| Outline Dimensions | 200.0(W) × 152.0(H) × 11.0(D) mm |
| Active Area | 170.88(W) × 128.16(H) mm |
| Operating Temperature | -30 ~ 80 °C |
| Storage Temperature | -30 ~ 80 °C |
| Interface & Electrical | |
| Signal Interface | LVDS (1 ch, 6-bit), 20 pins Connector |
| Supply Voltage | 3.3V (Typ.) |
| Backlight | White LED with 70,000 hour lifetime (Typ.) |
Frequently Asked Questions
Engineering Considerations for the NL6448BC26-08D
How does the 70,000-hour backlight lifetime of the NL6448BC26-08D translate to Total Cost of Ownership (TCO)?
A 70,000-hour backlight rating is equivalent to nearly eight years of continuous 24/7 operation. For a typical 12-hour-a-day industrial HMI, this implies a theoretical lifespan of over 15 years. What is the primary benefit of its 70,000-hour backlight? A significantly lower total cost of ownership (TCO). This extended life minimizes the need for costly field service to replace the backlight, making it a "fit-and-forget" component that often outlasts the service life of the host equipment.
What are the key considerations for integrating the NL6448BC26-08D's LVDS interface with a single-board computer?
The use of a standard 20-pin LVDS Interface simplifies integration. Engineers should ensure their controller or single-board computer (SBC) has a compatible LVDS output configured for a 6-bit, single-channel signal. It is crucial to verify pin assignments and ensure proper cable shielding to maintain signal integrity, especially in environments with high electromagnetic interference (EMI), which is common in industrial settings.
Is the 450 nit brightness sufficient for outdoor applications?
With 450 cd/m² brightness and a 600:1 contrast ratio, the NL6448BC26-08D provides excellent readability in a wide range of indoor industrial and shaded outdoor environments. While not classified as a full "sunlight readable" display (which typically requires >1000 nits), its performance is robust for applications under canopies, inside vehicle cabins, or in areas without direct, intense sunlight. The anti-glare surface treatment further enhances legibility by diffusing reflections.
Application Vignette
Engineering a Reliable HMI for Material Handling Vehicles
A manufacturer of logistics and warehouse automation equipment faced a critical reliability challenge with the HMIs on their forklifts and pallet movers. The displays needed to function flawlessly across a wide range of ambient conditions, from the -20°C environment of a cold storage facility to the 50°C+ temperatures inside a sealed cabin during summer operations. Previous displays suffered from slow screen updates in the cold and required bulky, power-consuming heaters.
By integrating the NL6448BC26-08D, the engineering team directly solved this thermal management problem. The display's native -30°C to 80°C operating range ensures immediate startup and fluid graphics, even on the coldest shifts, without any auxiliary heating. The 450-nit brightness, paired with its high contrast, guarantees that operators can clearly read critical information whether they are in a dimly lit aisle or a bright loading bay. Furthermore, the 70,000-hour backlight life aligns perfectly with the vehicle's long-term service cycles, drastically reducing maintenance downtime and improving the overall TCO for the fleet manager.
To evaluate the NL6448BC26-08D for your demanding application, please request the full datasheet and consult with our technical specialists for integration support.